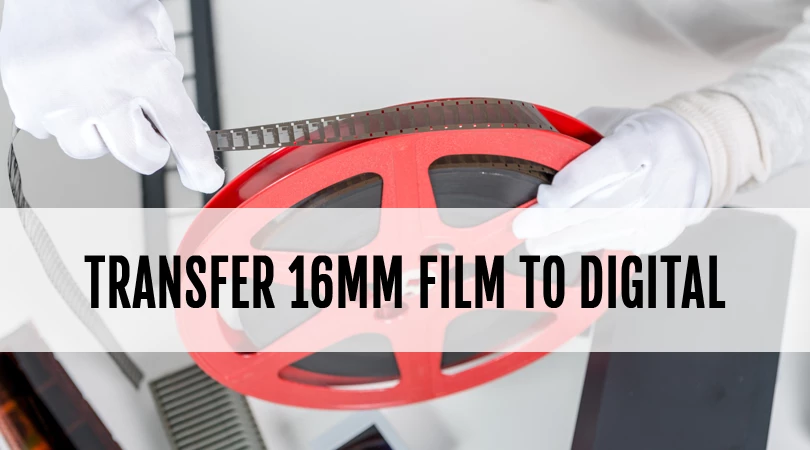
How to Transfer 16mm Film to Digital
In 1923, Eastman Kodak introduced 16mm film and Cine-Kodak, the first successful amateur movie camera in the U.S. This innovation represented a major breakthrough for amateur filmmakers and home movies. The new film was made with non-combustible acetate plastic, a far safer alternative to the dangerous and flammable cellulose nitrate used in 35mm film. And because 16mm film created a positive camera original, this eliminated the time-consuming, two-step process 35mm film required to create a negative and then print a positive from it. Less than a decade later, 8mm film was introduced, although 16mm continued to be widely used for decades. Throughout the 1950s, professionals still shot nearly all television news, educational films, and scientific research on 16mm.
Why You Should Convert 16mm Film
Transferring film to USB protects decaying memories from disappearing forever and provides convenient access to watch movies that have likely not seen the light of day in decades. When cellulose acetate film deteriorates, this can cause vinegar syndrome and the release of acetic acid. Once this reaction has taken place, it cannot be reversed. The acetic acid causes an odor that can cause serious respiratory issues and fading of dye, brittleness, and shrinking of the film until it crumbles.
DIY 16mm Film Transfer
If you own a treasure trove of home movies and have the time and desire, it’s possible to transfer 16mm yourself. Here is a step-by-step guide to a popular, albeit not always effective method called reverse Kinescope that utilizes a 16mm projector and camcorder.
- Buy a new bulb and clean the 16mm film projector’s gate and sprockets to eliminate dust.
- Use a photographer’s negative dust brush or blower brush to safely remove dust from the film
- Hand clean short reels by unwinding the film from the source reel to an empty reel, then use a dust free eyeglass cleaner cloth, wiping the film as you unwind it
- Check for any broken or bad splices and replace or remove them
- Set up the movie projector close to a projection screen or use matte white foam core board if you don’t have a screen
- Place your camcorder lens above the projector so the projected image fills the video viewfinder and set it to middle focal length
- Adjust the camcorder placement or tighten up the frame size so the image is projected into a reasonably sized rectangle.
- You’ll likely get flickering, but this can be nearly eliminated if you have a projector with a variable speed motor control and coordinate this with your camcorder’s shutter speed (this takes some effort)
The Benefits of Professional 16mm Film Transfer
If the above method sounds cumbersome, indeed it is, and often produces less than satisfactory results. Professional scanning services have the equipment and expertise to make the most of your 16mm films. In many instances, digital movies can turn out better than the original. Of course, like any other professional services or products, not all are created equal.
When you choose ScanCafe to transfer your 16mm films, our dedicated technicians give your celluloid memories the attention they deserve, spending up to two hours per movie film reel, including:
- Physical inspection, cleaning, and repair of bad splices
- Full frame HD scans
- Manual dust and scratch reduction
- Scene-by-scene color correction
- Manual retiming
- Accurate speed adjustment
- Manual scene selection
Don’t let your cherished memories gather dust and degrade—get them transferred professionally and enjoy watching them for years to come!
How To Articles
- How to Digitize VHS Tapes
- How to Scan Slides and Negatives
- How to Create Striking Photo Displays in Your Home
- How to Transform Digitized Pictures into Unique Photo Gifts
- How to Convert Old Kodachrome Slides to a Digital Format
- Converting 8mm Film to Digital: A History and How-to Guide
- How to Bulk Scan a Large Photo Collection
- How to Convert and Secure Your VHS Tapes
- The 3-Step Approach to Taming and Organizing Your Photo Clutter
- How to Upload Files to Google Drive, Amazon, and Dropbox
- How to Transfer 16mm Film to Digital
- How to Access Thumb Drive Files
- How to Open a Zip File on Windows and Mac