VHS to DVD: A Comprehensive Guide on How to Convert VHS to Digital
Resource Guides
How To Convert Slides To Digital
How To Convert Film Reels To Digital
VHS to DVD: How To Convert VHS To Digital
History of VHS (Video Home System)
DISCLAIMER : At the time of writing this article, DVD was a leading option for the conversion of analog video to digital format. Since then, ScanCafe’s recommendation has been updated to cloud storage and USB for long term storage and access due to DVD continuing to become obsolete and no longer supported in computer or TV hardware.
There was a time when a slideshow was a popular social activity that people looked forward to. Families and groups of friends often gathered in a room to view photos that were projected onto a screen.
VHS, short for Video Home System, was developed by the Victor Company of Japan (JVC) in the early 70s. By the 1980s, VHS accounted for 60% of the American market and had emerged as a dominant home video format.
Although the leading rival format was Betamax by Sony, there was a brief period when other companies such as Philips, RCA, and MCA produced different tape formats and disc systems. These systems soon died out while VHS was able to survive due to a number of advantages, including the ability to rewind and fast-forward the tapes at a faster rate, the unthreading system, and most importantly its longer recording time.
VHS tape sales peaked with the release of Lion King in 1994, which sold more than 30 million copies in the US alone. The VHS format continued to reign in the market for the next two decades, until DVDs came into the picture.
By the 2000s, DVDs were clearly the preferred video format and VHS began to be edged out. The last VHS tape that was mass-produced was "The History of Violence”, a 2005 American crime thriller.
In retrospect, VHS had a long and storied run. By the time it disappeared from the scene, the tape format had been played on some estimated 90 million machines.
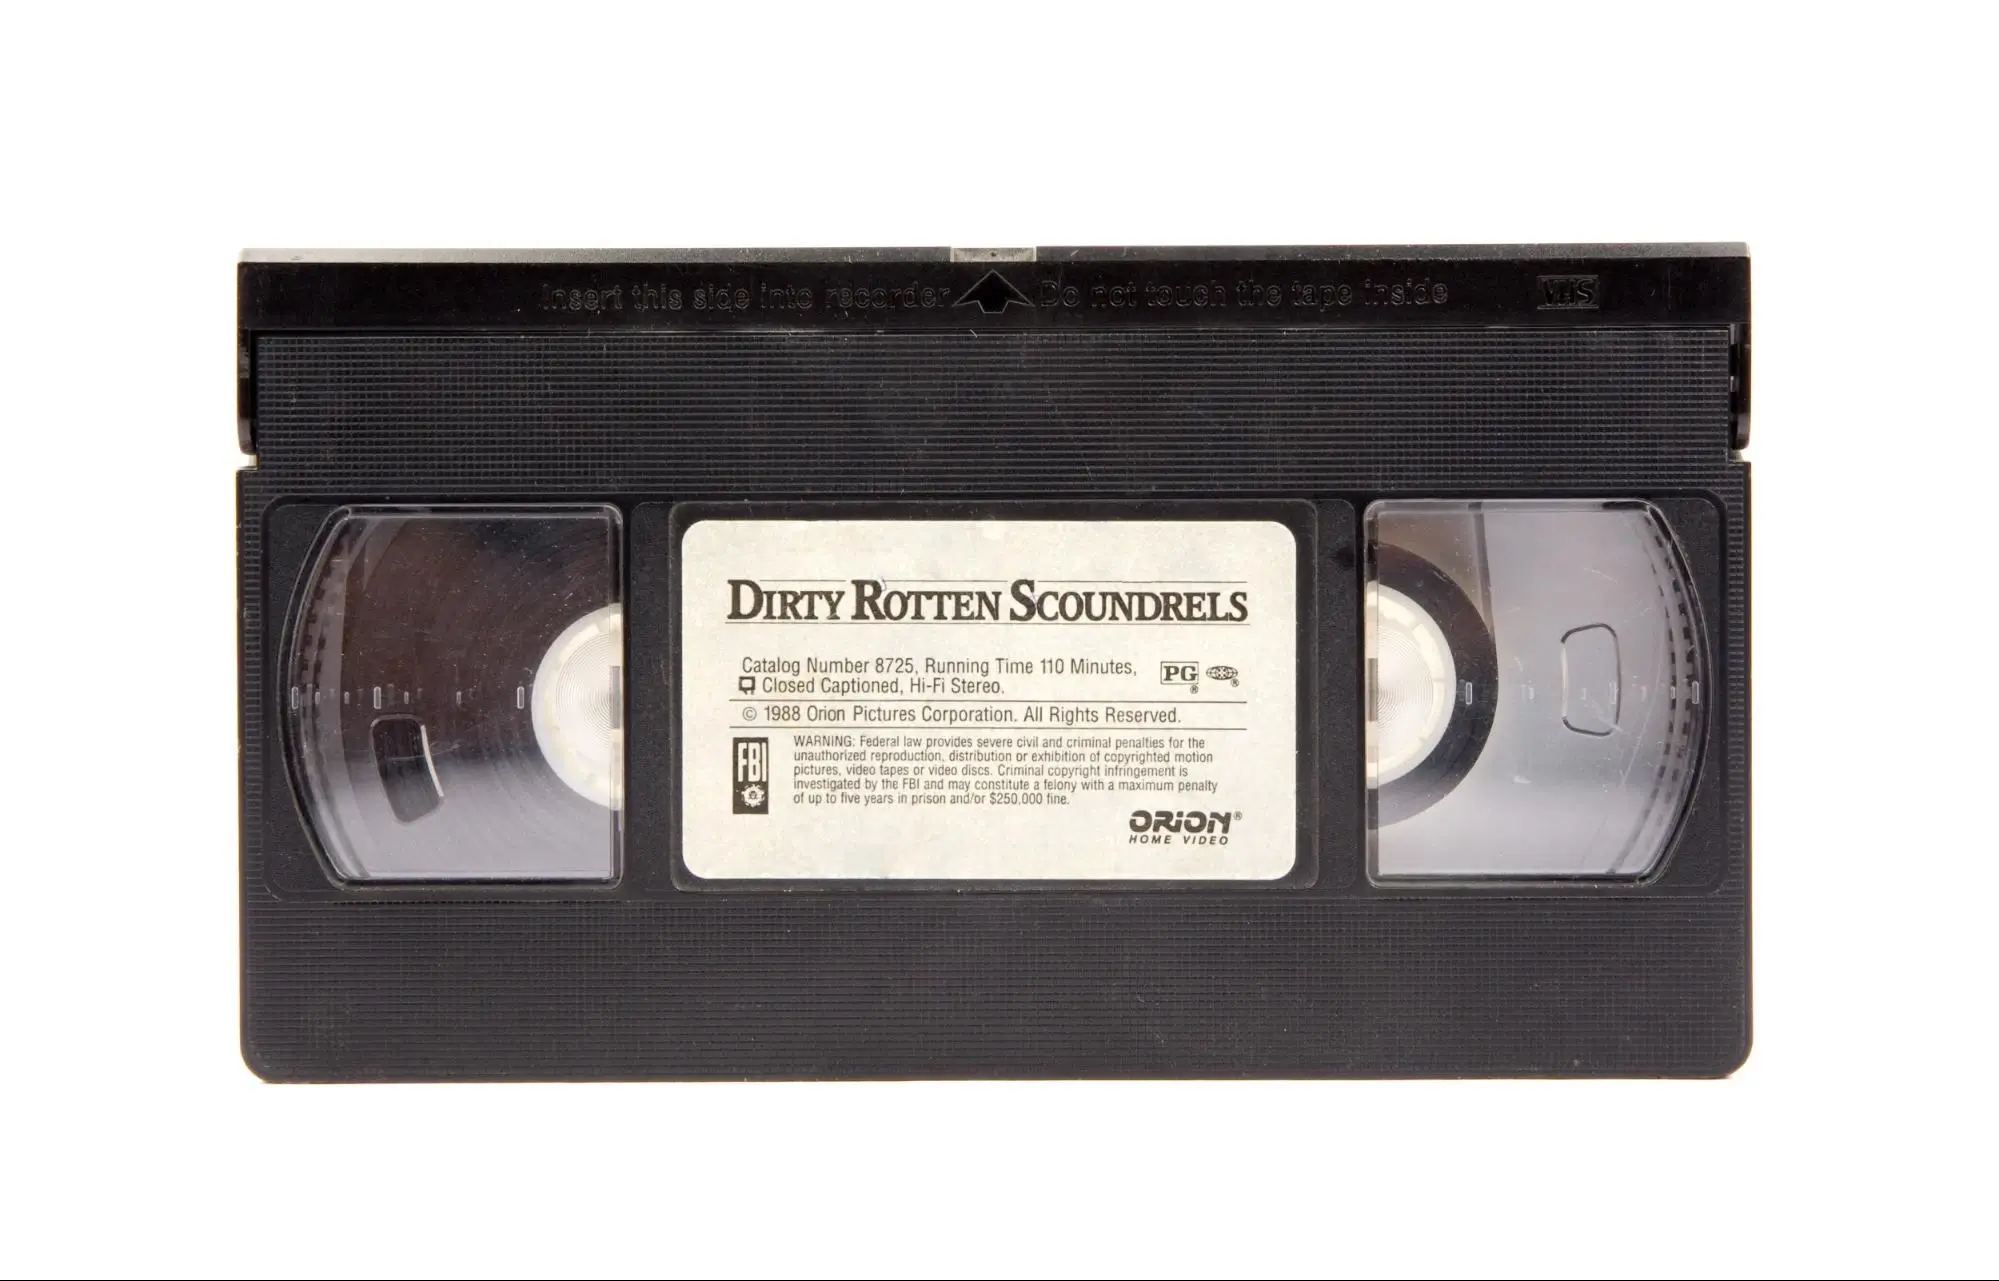
What are the different types of VHS tapes?
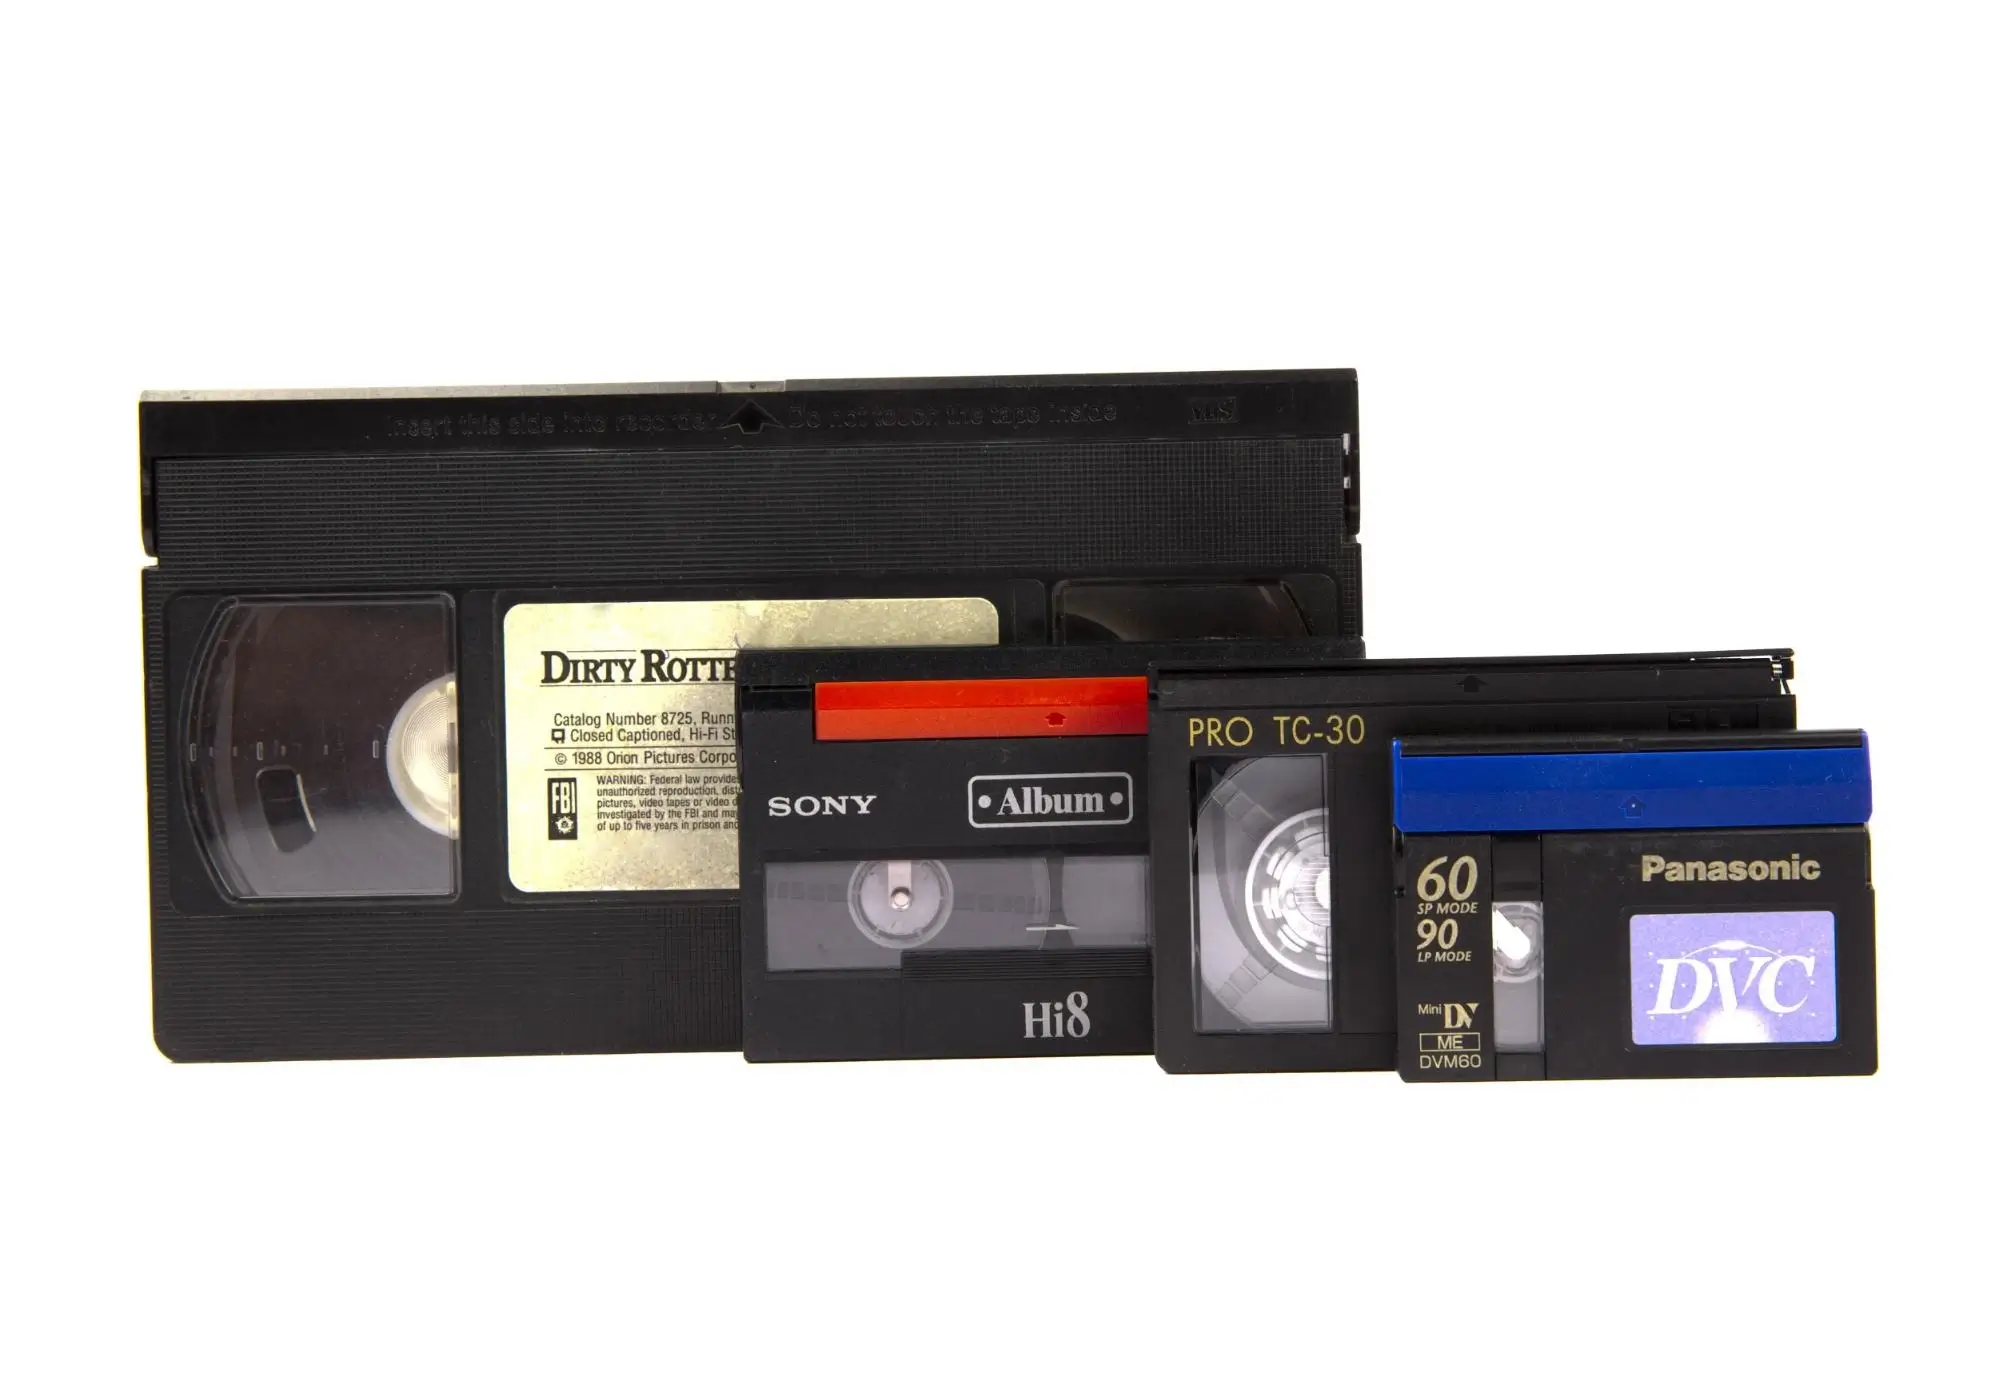
Standard VHS tapes need a VCR (Video Cassette Recorder) device to play them. The VHS-C tapes, on the other hand, were a more compact version of the VHS. These were produced for use in smaller cameras and camcorders and could be inserted inside VHS shell-adapter tapes. This allowed them to be compatible with VCR devices. VHS tapes record up to 200 minutes in SP mode (or 600 minutes in EP mode) while VHS-C tapes can record 40 minutes in SP mode (or 120 minutes in EP mode).
Hi-8/8mm
Both Hi-8 and 8mm tapes have the same dimensions and come in a similar cassette casing. The recording length of 8mm tapes is close to 120 minutes in SP mode, and 240 in EP mode. Hi-8 tapes display both their running time (that ranges from 30, 60, or 120 minutes of video in SP mode) and digital running time (60 minutes).
Both of these tapes are compatible with Hi-8 or Digital-8 camcorders. These can be connected via a cable to a TV/VCR unit and the videos can then be transferred onto a VHS tape that can then be played on a VCR.

MiniDVs
This was one of the first digital formats available to customers. The MiniDVs slowly became the most popular type of videotape format. These tapes can record up to 80 minutes in SP mode and 120 minutes in LP mode. You can play these tapes on the camcorder or connect to a TV or a computer.
How to safely store VHS tapes
Here are a few sound practices to follow when it comes to storing old VHS tapes in your collection:
Keep them cool, but not cold. The SMPTE standard for preserving video tapes is to keep them at 62 degrees Fahrenheit. This is actually much warmer than is recommended for photos, and that's because at very low temperatures, chemical changes start to happen with the lubricant in a video tape's binder layer.
Keep them dry. A low relative humidity environment is important to prevent hydrolysis (i.e, to preventing your video tape from becoming a sticky, unplayable mess). As with photos, most experts point to 30% as a good number, which may well be the ambient relative humidity in your home, depending on where you live. Beware, however, of basements and attics.
Avoid swings in either temperature or humidity. Each change stresses the substrate and backing, and repeatedly doing so will cause tracking problems on playback.
How long do VHS tapes last and why do they degrade?
Video tapes, including VHS, VHS-C and Hi-8, are composed of three layers - the binder, substrate and backing - that are engineered together in a way that will withstand the wear and tear on tapes due to rewinding and repeated playbacks.
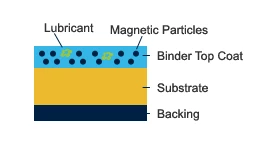
Depending on how VHS tapes are stored and handled, they may retain their quality for longer. But even if you store your tapes in a cool, dry and dust-free environment, they can degrade over time. In most cases, you can expect them to deteriorate 10-20% over the course of 15-20 years and even more if they have been improperly stored. This is because tapes are magnetic media and that makes them fundamentally impermanent. This doesn't mean that you cannot retrieve and play these videos, but it will affect the quality of the viewing experience.
Here are some of the common ways in which tapes can degrade:
Magnetic deterioration
When magnetic particles in the binder layer lose charge or become accidentally demagnetised (from storing near a magnetic source such as audio loudspeaker), it affects color, sharpness and detail of the picture. Damage to magnetic tape can also cause the image to become unstable and shaky. Occasionally, it causes thin lines or some other form of distortion on the screen.
Tape damage
Magnetic tapes can get creased if they get stuck in a VCR. As a result, the video may get badly distorted. At times, a horizontal smear may appear at the top of the screen. VHS-C tapes are particularly susceptible to this. Some VHS-C adapters may also cause damage to tapes, especially after they have been played multiple times. Although it's not always possible to reverse the effects of a creased tape, the good news is that the damage is usually confined to only one area.
Another less common problem is tape slippage where the the video starts skidding in certain sections. This can be caused by either tape tension loss where the tape becomes loose in parts, or tape warping where the tape starts to stretch or bend itself. In cases where the tape becomes so brittle or fragile that it snaps, splicing can help to restore it.
Other wear and tear
With each playback, the lubricant in the binder layer gets used up. Increased wear and tear on this layer can directly affect the magnetic particles and cause information loss. When there's humidity in the air, the binder's polymers will absorb water in a process known as hydrolysis, and eventually delaminate. If you pop such an affected tape in a player, it can further damage both the tape and the machine.
The backing and substrate can get stretched due to multiple rewindings and playback. This causes tracking errors that can dramatically reduce playback quality. If the tape has been recorded on several times, there is a loss of information with each generation of recording.
Clearly, VHS tapes can get damaged from both lack of use or overuse. So, our best option for capturing maximum signal from our tapes and preserving the memories in them is to digitize them - sooner rather than later.
How to convert VHS to digital
Take stock and plan
Before you begin the process, do a complete inventory of all the tapes in your possession. Once you know how many tapes you are looking at, you can put a plan in place for tackling them. You will need to have the right equipment, as well as time on hand before you can get started. The first step in the process is be secure an actual VHS player, if you don't own one already. This may be a stand-alone VHS unit or a combination VHS/DVD player-recorder. You will also need the right adaptors or cables to transfer the video files from the A/V output of your player and onto a DVD or hard disk through the input slots of a DVD player or computer.
Here's how you can go about converting your VHS tapes to digital:
Option #1: Convert VHS to DVD using a recorder
To copy your VHS tape content to a DVD using a DVD recorder, connect the composite (look out for the yellow color) video output, and the RCA analog stereo (red/white) outputs of your VCR to the corresponding ports of a recorder.
Some DVD recorders may have one or more of these inputs - which may be labeled in a number of ways. The most commonly used nomenclature is AV-Input 1, AV-Input 2, or Video 1 Input, or Video 2 Input. Just choose one of the sets and you are ready to go.
Now to transfer or make a copy, use the DVD recorder’s input selection option and choose the right input. Then place the tape that you wish to copy into your VCR and insert your DVD into the recorder.
Start the DVD recording, then press the “play” button on your VCR to start the playback of the tape. This sequence is important in order to make sure you don’t miss out on the first few seconds of the video playing on your VCR.
Option #2: Use a DVD recorder/VHS VCR combination Unit
You can copy your VHS to DVD by using a VHS VCR and a recorder combination. It is essentially the same as option 1, but a lot easier as both the DVD recorder and VCR are in a single unit. This means there are no extra connection cables required.
Since most of these combo units have cross-dubbing functionality, all you have to do is insert your tape and recordable DVD, select the dubbing direction (VHS to DVD or DVD to VHS) and then press the right button to begin.
However, even if the unit you are using doesn’t have this functionality, you can hit 'Record' on the DVD side and 'Play' on the VCR side to get the process rolling.
Option #3: Convert VHS to digital by connecting a VCR to a PC via a video capture device
For obvious reasons, this is becoming an increasingly popular and practical way to digitize VHS tapes, although there are a few things to keep in mind with this option.
To get started, connect your VCR to a PC via an analog-to-digital video capturing device. Then you can record the video to your PC’s hard drive. From there, you can back it up by uploading to an online storage site or write it out on a DVD.
A video to analog converter or capture device typically comes with a box that has the required inputs to plug your VCR into as well as a USB output for connecting to your computer. In addition to this, these devices also come with software to facilitate the transfer process, as well as enable you to edit and enhance the transferred movie file by adding titles, chapters, etc.
A few key considerations - as they may affect the process as well as the outcomes - include the amount of RAM on your computer, processor speed and hard disk storage.
These factors are important because when analog movies are converted to digital, the resulting file sizes are generally large. Not only do you need sufficient hard disk space to store these, you need a fast enough computer in order to ensure that the transfer process doesn't stall mid-way or worse, go through incompletely with video frames being missed out or cut out.

A note on DVD recorders
Although all three methods described above for converting VHS footage to a digital format are perfectly viable, it is true that DVDs - and, as a result, DVD recorders - are becoming increasingly scarce. So much so, that most new laptop models in the market don't even have built-in DVD writers. However, even though DVD recording options are on their way out, DVD playback devices are probably going to linger on for while longer.
Storage and backup of your movie files
This is a key aspect of the whole process. Digitization turns your VHS videos into digital files, with MP4, MOV and AVI representing some of the most common digital file formats for movies. Think in terms of local as well as remote (read cloud) backup for these important memories. This is what will keep your videos from the past secure for the future.
Cloud storage is becoming more affordable and there are many providers to choose from, with Google drive, Dropbox and Apple iCloud representing some of the more popular choices. Most offer a free base level subscription that you will probably need to upgrade if you want a home for large movie files. Another option is to upload your movies to Youtube where they are both safe and easily accessed by you and anyone you wish to share the link with.
Another important aspect is the ability to locate and pull out footage from specific events and time periods. This is where file naming, organization and details (in the form of metadata) come in. Check out online forums for tips on the best ways to save and organize your home movie files so that you can easily locate specific sections or images when needed.
Convert VHS to Digital: DIY vs using a service
There are two things you must have on hand if you are trying to digitize your VHS tapes yourself - a VHS player or recorder, and sufficient time. Most of us don't own videotape players anymore and so you will need to buy or rent one for the project. The actual transfer process can be time-consuming since your tapes have to play out in real time for you to record their contents. So, for example, if you have a four hour tape, you will need four hours to record it. You also have to factor in the original recording mode of the tape - standard play (SP) long play (LP) or extended play (EP). If in LP or EP mode, the VHS tape is going to take two or three times as long to record versus the standard two or three hours.
Using a pro service to convert your VHS tapes to digital is really the best and most convenient option given that most of us don't currently own a VCR or other device to play our tapes. They can cut out empty footage, remove tracking errors, stabilize images and organize the entire movie into chapters with helpful titles. Since video editing can be a cumbersome exercise, outsourcing it will save you time and effort. You can also specify the format (.MOV, MP4) and storage medium (DVD, USB flash drive) in which you want your digitized videos delivered to you.
Viewed from all angles, roping in the pros for this project seems like the way to go even it means setting aside some budget for the project.
Whichever option you pick, it's important to get started with what is sure to be a rewarding project. With a little bit planning, organization and possibly some help from the experts, you can start the process of rescuing wonderful memories stuck in old unplayable video tapes.


