Back in the day when people shared home movies with unsuspecting family and friends, some of them may have let out a collective groan under their breath! If you’re lucky enough to discover vintage home movies sitting in a shoebox collecting dust, you need to treat them better! After all, they contain rich family history and a legacy you can share with future generations. And decades later, the “stars” of these movies have grown up and some may have even passed away, giving old home movies new and often poignant meaning.
Learning how to store, handle, care for, and digitize old film reels is key to preserving precious family celluloid memories. Not to mention the fact that film reels are a cool retro media with an incredibly rich history worthy of TLC.
Home movies were typically created to document events and later share with family and friends on a home projector. And while they offer a unique glimpse into personal moments in the lives of families, old home movies also provide visually-rich insights into life in the 20th century. In fact, many amateur movies depict fascinating and historically important images of rural, suburban, and big city life in America, even though they aren’t as technically sophisticated as professional documentaries.
When it was introduced in 1923, 16mm film was an expensive medium. In today’s dollars, it would cost $1,400 to develop an hour of film stock. As such, home moviemaking in the early days was reserved for the wealthiest families. When Kodak introduced 8mm movie film in 1933, home moviemaking grew in popularity and became a far more affordable hobby that working-class families could enjoy. Whether old movies show a baby taking first steps, birthday parties, weddings, school graduations, or trips to Niagara Falls, each movie has its own unique look. And when your relatives are the subject, old movies are as important part of your history as a family tree and old photo albums, making preservation a worthy pursuit.
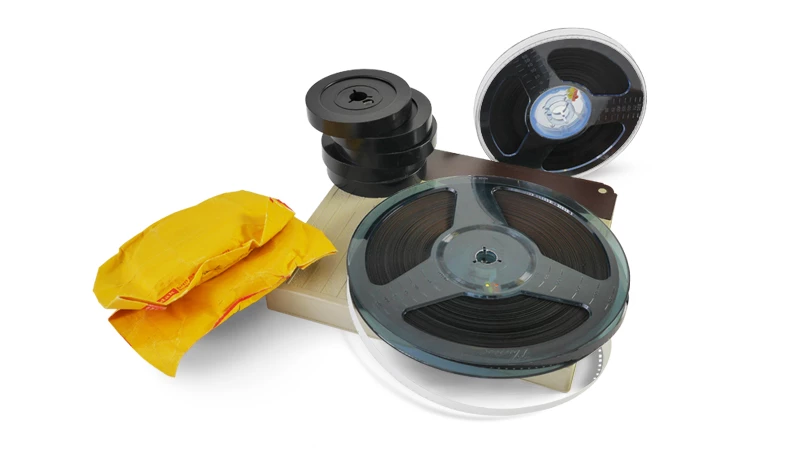
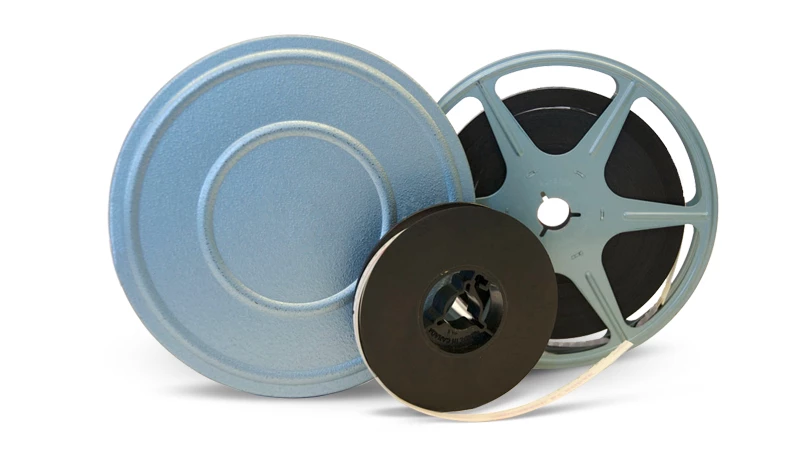
Just like photographs, videotapes, or any other media, film reels should be kept in a cool and dry environment. The back of the closet is fine, as long as it’s dry and out of the sunlight. When stored in the most ideal conditions (e.g. conservationist setting), the shelf life of film can be extended. But under typical conditions, instability and general chemical breakdown is inevitable within 20 years or less. Too frequently, people discover rich treasure troves of home movies that have incurred serious damage due to the vagaries of time and improper storage.
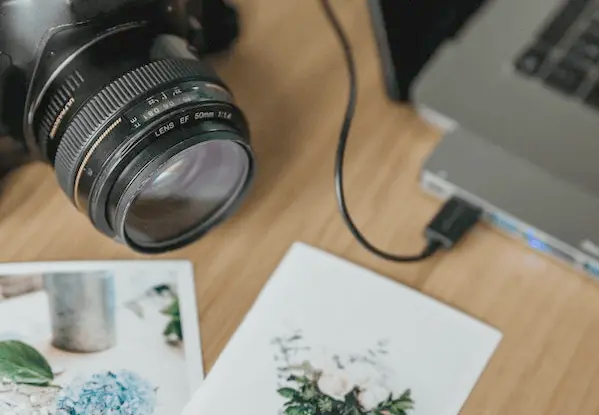
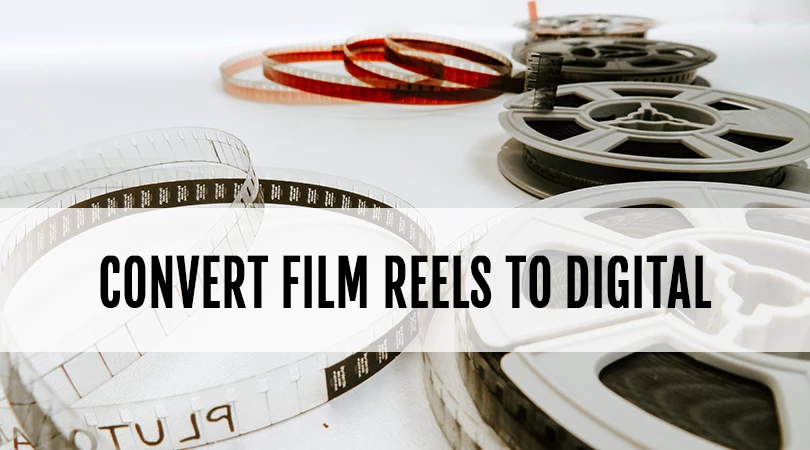
Before your films deteriorate and footage is irreplaceably lost, converting to digital is the best way to save precious memories for posterity. Digitizing old film reels requires rerecording footage. Here’s a step-by-step DIY guide.
Digitizing old film reels is a real-time process that takes the same time to convert as it does to watch. If you own more than a few reels, digitizing is a major undertaking with often disappointing results. Even when it’s done correctly and equipment functions properly, commonly encountered issues include slight blurriness, dust, scratches, and washed-out colors.
Using a reputable scanning service to convert 8mm or 16mm film will not only save you time and aggravation, but produce far better results than the least expensive and commonly-used DIY method discussed above. At ScanCafe, our frame-by-frame process results in digital files that closely match the original film’s clarity, color, and brightness. Moreover, we include dust and scratch reduction and scene-by-scene color correction. All you need to do is gather friends and family, grab some popcorn, sit back, and take a nostalgic stroll down memory lane!
Yes, 35mm film can be converted to digital. At ScanCafe, we offer professional scanning services that digitize 35mm film with a frame-by-frame process, resulting in high-quality digital files that closely match the clarity, color, and brightness of the original film.
To convert 8mm film to digital, you can either attempt a DIY method or use a professional scanning service. Our recommendation is to use a reputable scanning service like ScanCafe, which offers a frame-by-frame process to convert 8mm film to digital. Our process includes dust and scratch reduction as well as scene-by-scene color correction to ensure the best possible results.
The cost to convert film to digital can vary depending on factors such as the format of the film, the length of the footage, and the quality of the digital conversion. At ScanCafe, our pricing starts at $0.69 per foot of film for 8mm and super 8 film, and $0.85 per frame for 35mm film. We also offer volume discounts for larger orders. For a personalized quote, we recommend contacting us
You can convert old movies to digital at ScanCafe. We offer professional scanning services to convert various formats of old movies, including 8mm, 16mm, and 35mm film. Our frame-by-frame scanning process ensures high-quality digital files that closely match the original film's clarity, color, and brightness. We also provide additional services such as dust and scratch reduction and scene-by-scene color correction to enhance the overall quality of the digital conversion. Simply send us your old movies, and we'll take care of the rest!