How to Access Thumb Drive Files
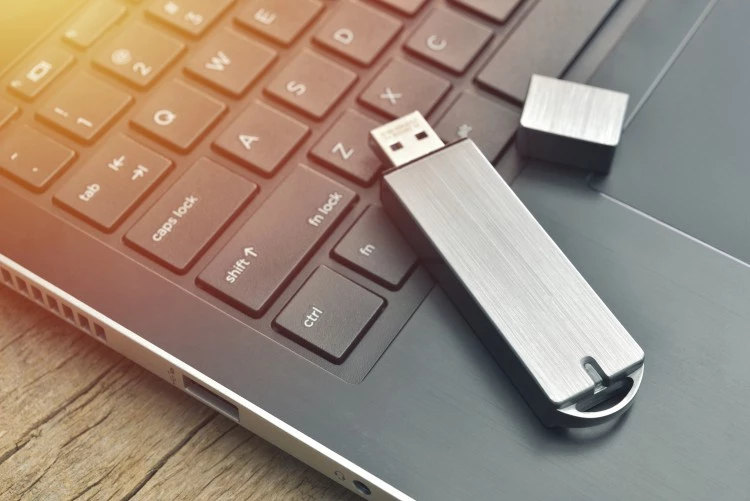
The terms thumb drive, flash drive (also called jump), and USB stick all refer to a small device that stores data. When you plug all of these into a USB port, you can view, copy, edit, or move files. This compact device enables carrying documents in your pocket and accessing them on the go, for business and personal applications. It’s hard to believe people once relied on 8-inch, 5.25-inch, and finally 3.5-inch floppy disks to store and transfer comparatively miniscule amounts of data!
Thumb drives are generally less than a few inches long, with a width and depth that measure a fraction of an inch. Although small, these drives typically hold a minimum of 256 megabytes and maximum of several gigabytes of data. The biggest difference is that flash drives use compact flash, while thumb drives rely on solid state construction. The latter is the same kind of technology manufacturers utilize to produce other mini-items like camera storage cards, small mp3 players, etc
How to Open a Flash Drive
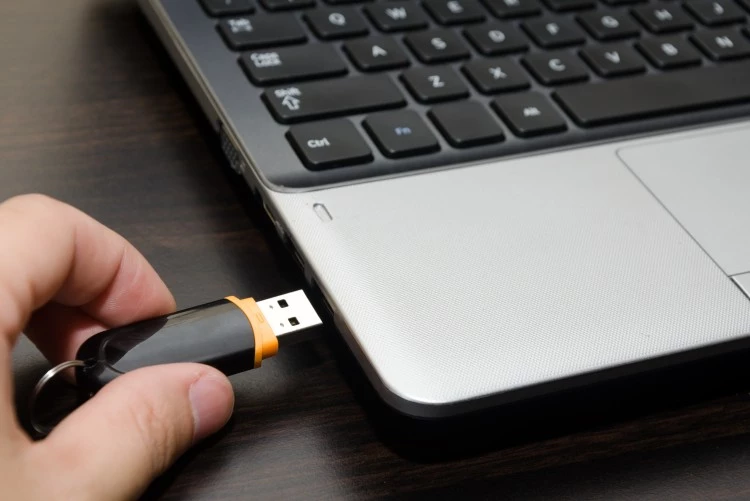
The first step is to connect the flash drive by inserting it into the USB port on your computer. This is on the front, back, or side of your computer, and may vary depending on the desktop or laptop model.
- If you're using Windows, a dialog box may appear. If it does, select Open folder to view files. On a Mac, a flash drive icon will usually appear on the desktop.
- If the dialog box doesn’t appear, open Windows Explorer or Finder on a Mac, then select the flash drive on the left side of the window. The name of the flash drive can vary.
How Do I View Pictures on a Flash Drive?
Once the flash drive is connected, you can work with files just like you would on your computer, including viewing, editing, moving, copying, or deleting. Reviewing photos is as simple as double-clicking on the one you wish to look at. On a Mac, the picture will automatically open in Preview, while on a PC, it will open in Photo Viewer. On a PC, you can also click "Preview" and select "Windows Photo Viewer" to view images.
Safely Removing Flash Drives
It’s never a good idea to yank out a drive while you’re working on it because that can corrupt the data. Hitting the eject button is the best practice because this clears the cache and ensures all pending actions have been performed. This enables unplugging the drive without the risk of data corruption. Yanking a flash drive out of a Windows operating system is less likely to present an issue, however, it’s wise to play it safe regardless if you’re using a Mac or PC. Ejecting the drive is a great habit and only takes a few seconds.
- On a PC, in right-click the flash drive in Window Explorer and select disconnect (or eject)
- On a Mac, click the eject button next to the flash drive in Finder to eject it
How to Organize USB Drives
If you take a lot of photos, organizing them is a must! First, you need to back them up to the cloud because hard drives and flash drives can crash. Some people also store photos on USB drives to avoid digital clutter on their computers and smartphones. But if you have many drives, finding what you need can become a source of frustration. One of the easiest methods is to organize them by year. If that’s inadequate, you could also add the subject matter or theme. Although paper labels won’t stick and writing on them isn’t practical, standard metal key tags are a simple, neat, and inexpensive way to organize them.
At ScanCafe, we make it easy to digitize photos, movies, and videos and you can select from a USB drive or digital download as a standard option.
How To Articles
- How to Digitize VHS Tapes
- How to Scan Slides and Negatives
- How to Create Striking Photo Displays in Your Home
- How to Transform Digitized Pictures into Unique Photo Gifts
- How to Convert Old Kodachrome Slides to a Digital Format
- Converting 8mm Film to Digital: A History and How-to Guide
- How to Bulk Scan a Large Photo Collection
- How to Convert and Secure Your VHS Tapes
- The 3-Step Approach to Taming and Organizing Your Photo Clutter
- How to Upload Files to Google Drive, Amazon, and Dropbox
- How to Transfer 16mm Film to Digital
- How to Access Thumb Drive Files
- How to Open a Zip File on Windows and Mac