There was a time when a slideshow was a popular social activity that people looked forward to. Families and groups of friends often gathered in a room to view photos that were projected onto a screen.
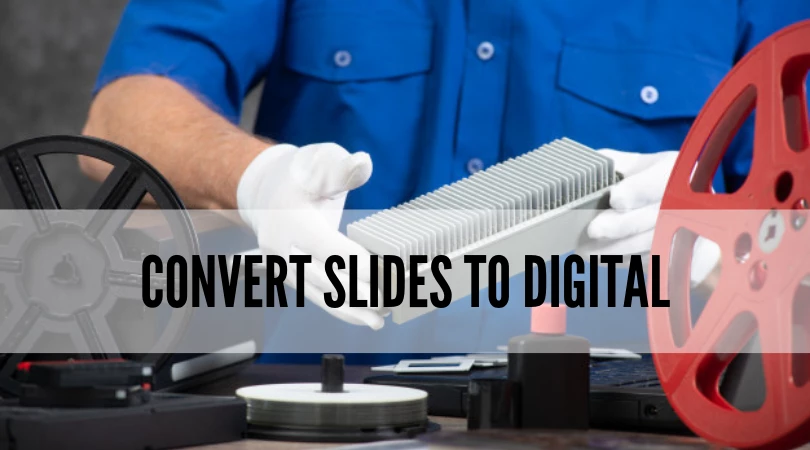
The term slideshow has now come to be part of our daily lexicon - especially as it pertains to imaging and presentation software. And although slides are no longer common as photographic media, they are a big part of most family photo archives. The days of physical slideshows may be behind us but it's still important to digitize old slides and catalog their images so that these memories can be preserved for future generations to enjoy.
If you are unsure about how and where to begin, this guide contains lots of information to help you successfully convert your collection of old slides to digital.
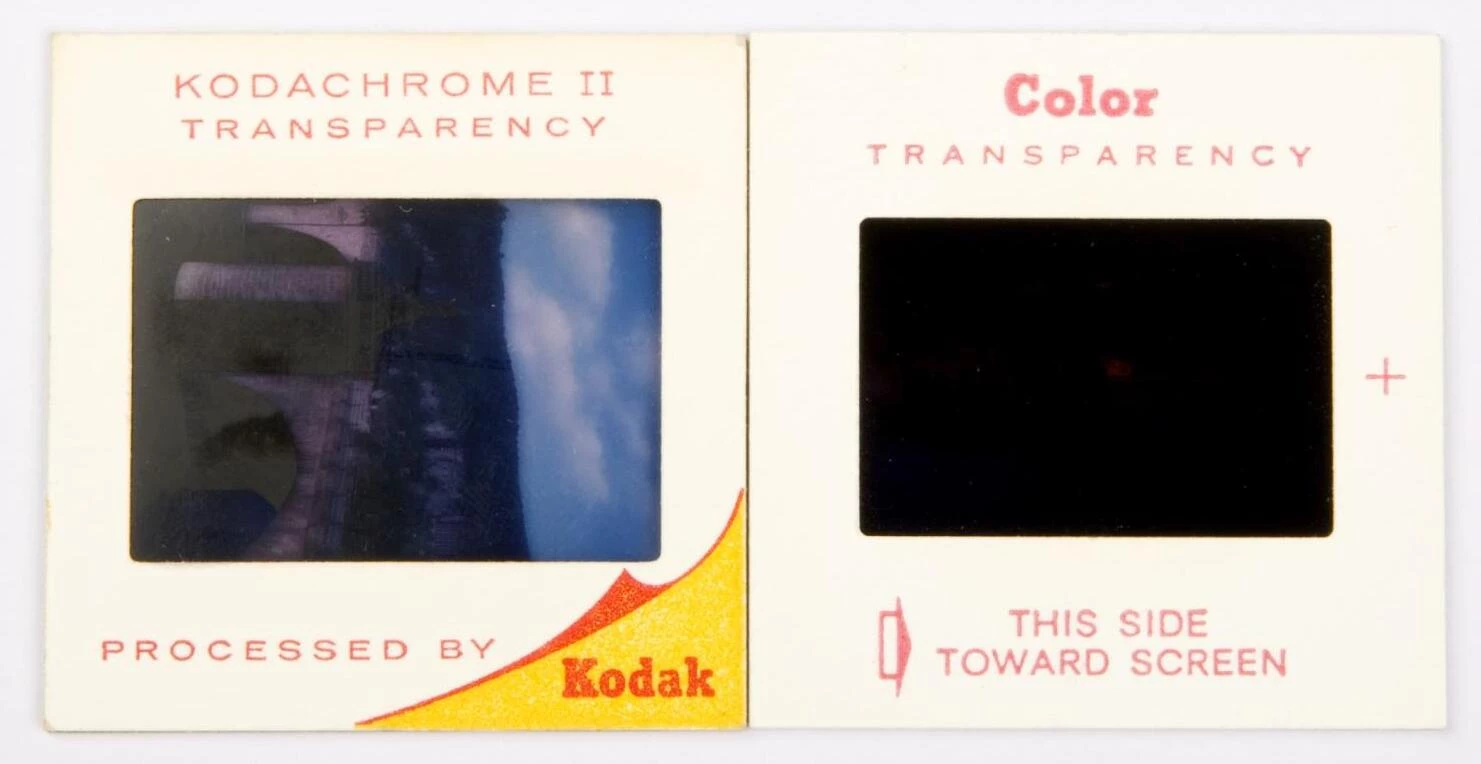
Photo slides, technically known as reversal films, are a type of photographic film that produce a positive image on a transparent base. Slide film is processed to form diapositives or transparencies, rather than prints or negatives.
A photo slide is a specially mounted transparency, designed for projection onto a wall or screen. This makes it ideal for viewing photos at a larger scale and in a group setting.
In the early days, slide projectors relied on a sliding mechanism to pull a given transparency out of the side of the machine, and replace it with the next one. This is where the 'slide' in slideshow comes in.
Modern slide projectors typically use a carousel that holds a number of slides. There is a rotating mechanism involved here with the projector automatically moving to each slide, picking it out of the carousel and placing it in the front.
The advantages of slides are that the images can be viewed as is, without the need for processing or printing. Slide images contain a high level of detail - including vibrant colours, contrast, sharpness and fine grain.
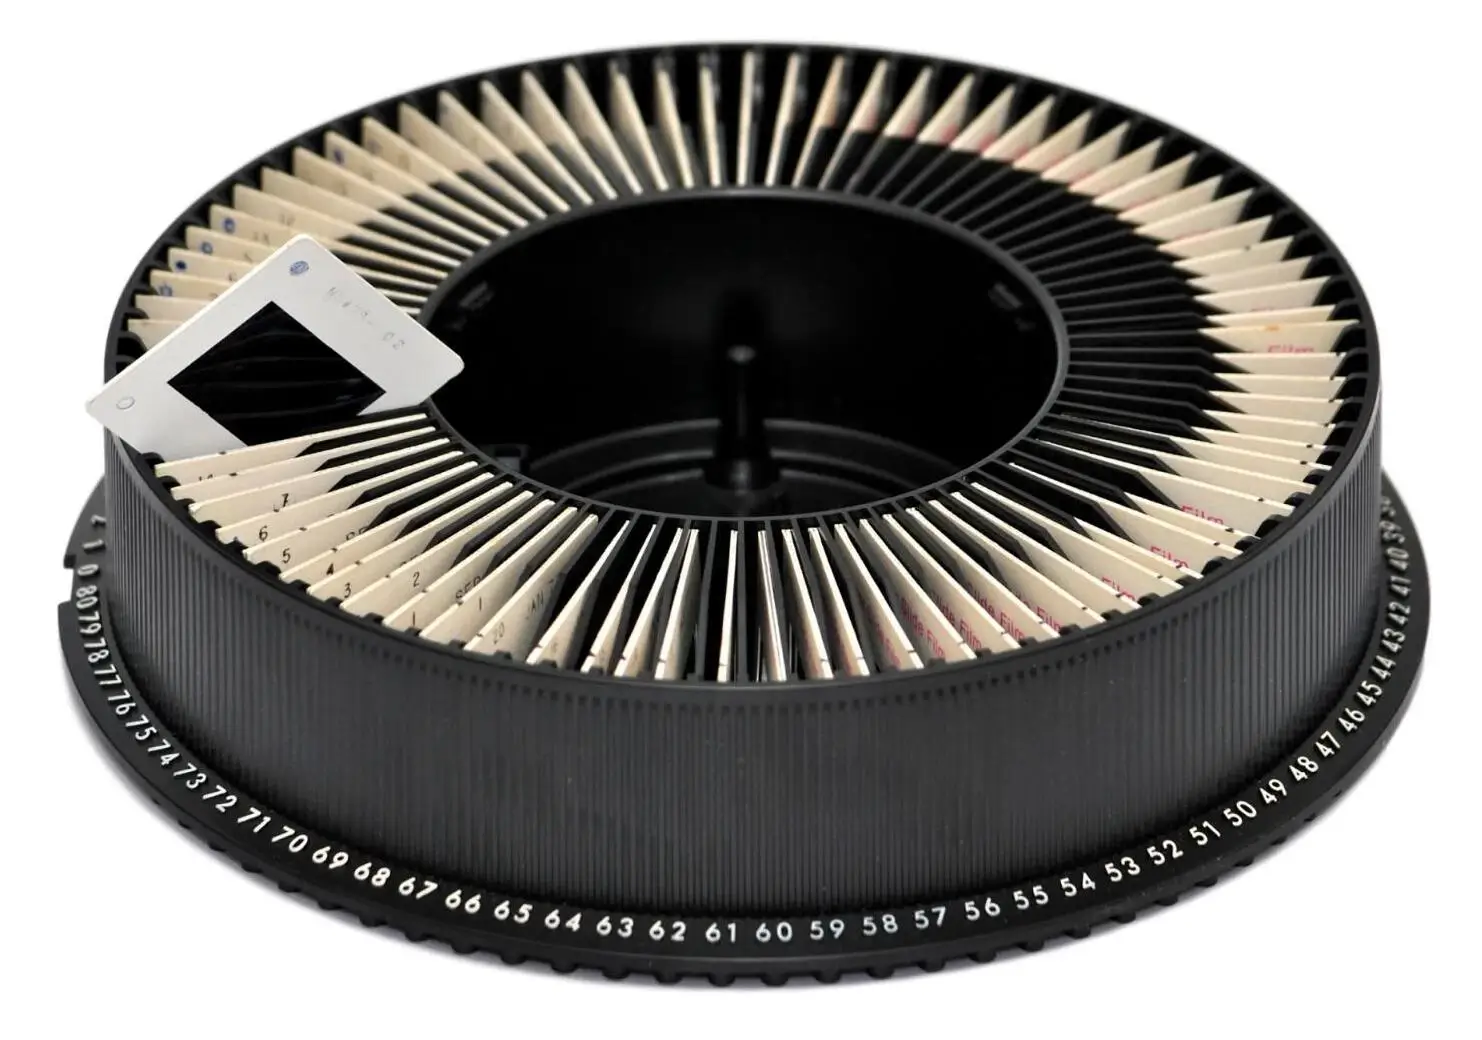
Slide carousel
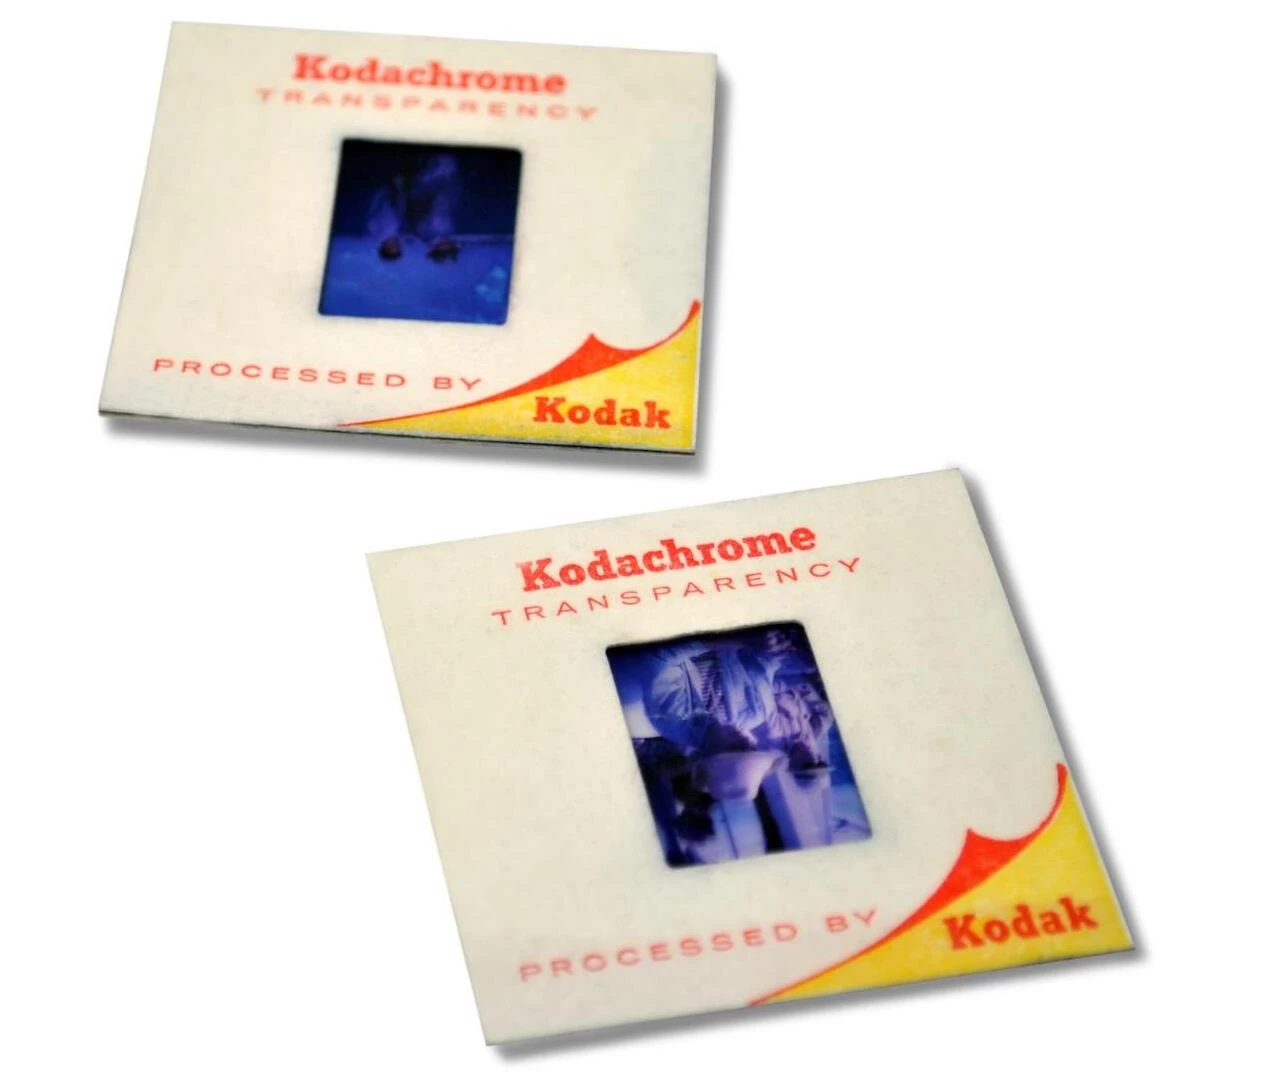
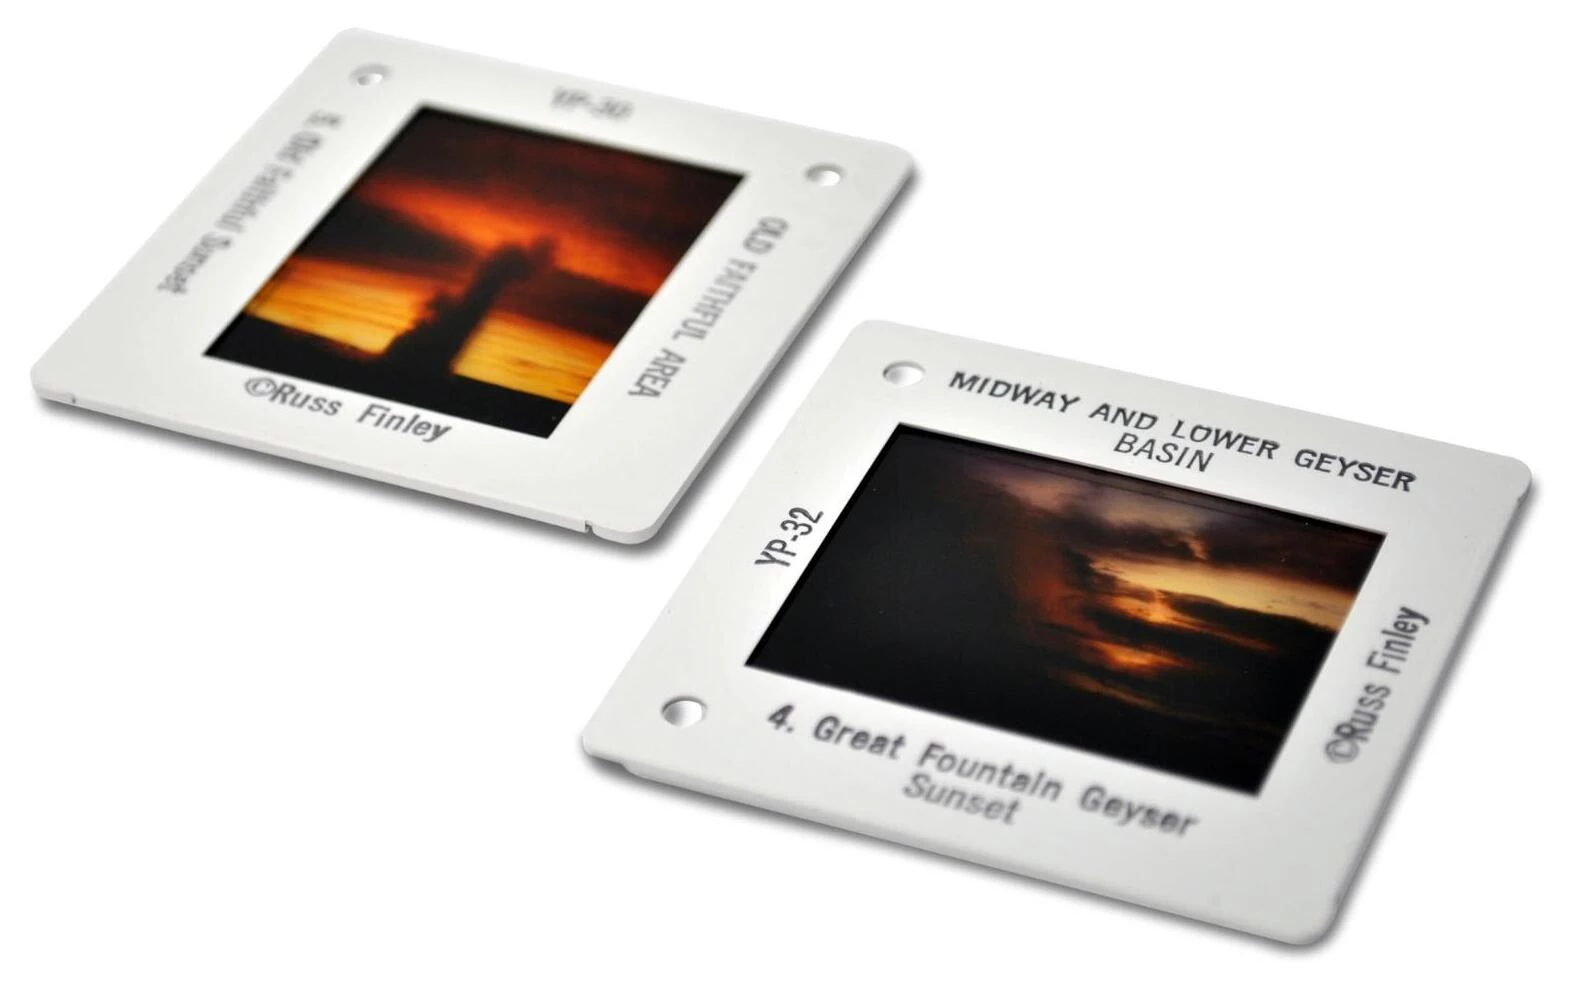
The 35mm is the most common type of slide and is typically housed in a cardboard or plastic mount to facilitate projection..
The 35mm slide film was first introduced in the early 30s but it took until the 1960s for it to gain prominence. Standard 35mm films, such as Kodachrome, Ektachrome, and Ansochrome transparencies, are commonly available as two inch square slides with cardboard mounts.
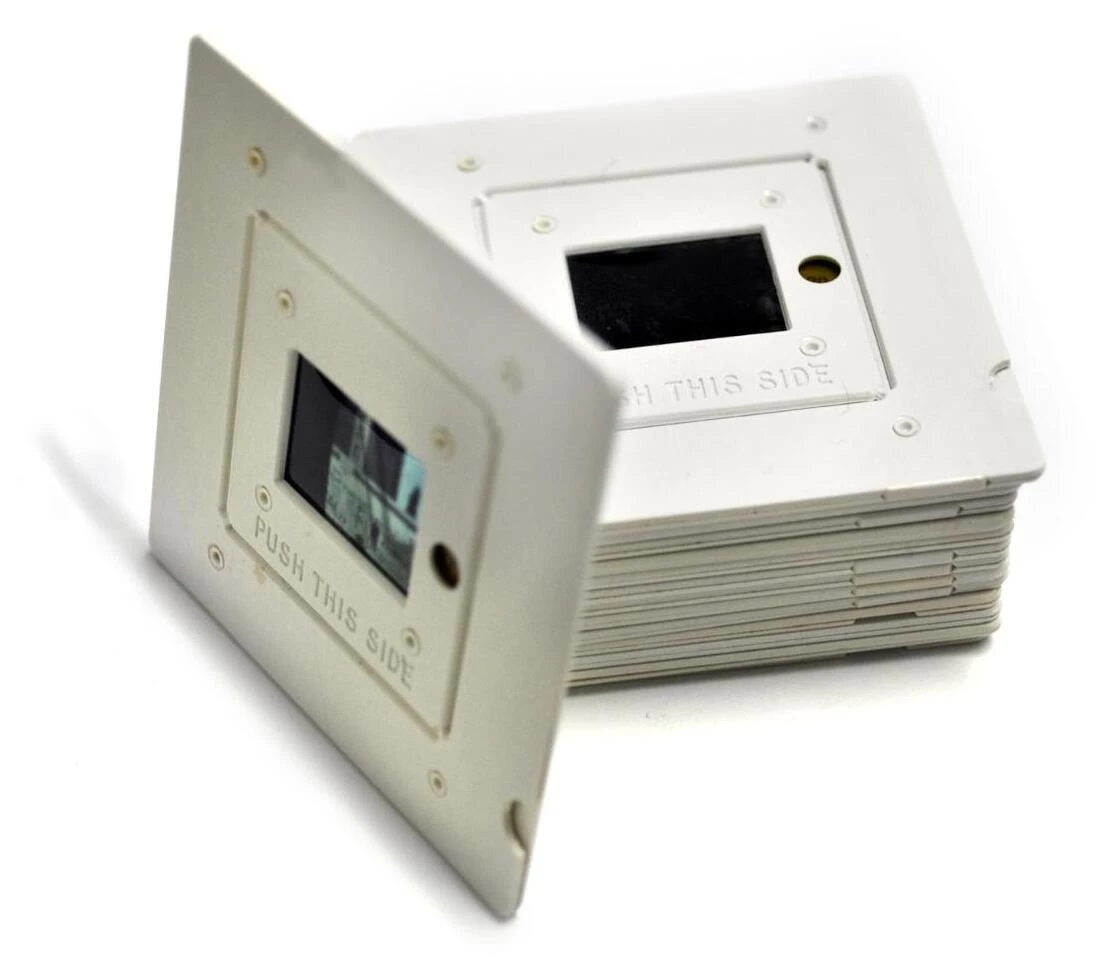
While 35mm slides are the norm, slides do come in other less common formats. The size of the actual image within the cardboard mount will tell you what kind of format you are dealing with. Apart from 35mm, there are also 110, 126, 127 and 120 slides as well as medium and large format transparencies.
Similar to 35mm slides, these different formats are all placed in 2”x2” slide mounts, which allows them to be projected with the same equipment as 35mm slides.
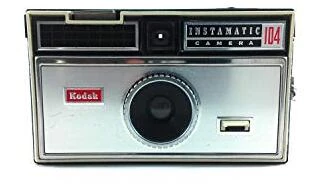
110 is a cartridge-based film format and is a miniature version of the 126. Slides of this format have a frame measure of 13x17mm. The format was introduced by Kodak in 1972 for their Instamatic cameras.
110 format
Some people preferred this comparatively smaller format, because it went well with portable, lightweight cameras. Kodak discontinued production of this slide film in the ‘80s and stopped making compatible cameras in the ‘90s, but other companies continued to produce both.
Most slides of the 35mm half frame format were likely produced in the '60s. The main feature of this format was that it used only half a frame for each shot, thereby doubling the number of pictures that could be accommodated on a single roll. This aspect, along with the miniature cameras designed to work with this format, were what made it so popular.
35mm half frame slide
126 film was introduced by Kodak in 1963, and is associated mainly with low-end point-and-shoot cameras, particularly Kodak's own Instamatic series. The label ‘126’ was first used in the early 1900s for a line of film rolls, until Kodak introduced the cartridge-based version of the format. The frame of a 126 slide measures 26.5x26.5mm.
126 format
127 was a roll-based film format introduced by Kodak in 1912, along with its foldable Vest Pocket Cameras, as an alternative to larger portable cameras of the time. The slide was squared off and bigger than rectangular 35mm slides. Given the larger film size - 40X40mm - it was easier to view scenes on these slides.
127 slide format
The 828 format was introduced by Kodak to target the amateur photography market. It remained in production for more than fifty years before being discontinued in 1985. Kodak continued producing cameras for the 828 format until the mid ‘60s, long after other manufacturers had stopped making them. With dimensions of 40x28mm, images produced by this slide film are wider than those from standard slides.
The 120 format was released by - you guessed it - Kodak, for the Brownie No. 2 camera, back in 1901. This format was widely used throughout the first half of the 1900s and is still available as a special product for antique photography lovers.
With an image size that is about three to four times that of the 35mm format, 120 format slides are included in the “Medium” category. Their larger size means that these images contain more detail and can be scanned and enlarged with compromising on quality.
120 medium format
Large format transparencies, also known as sheet films, are generally 4”x5” or larger. Similar to medium format slides, these slides capture a great amount of detail, making for quality reprints and enlargements.
Large format

Large format
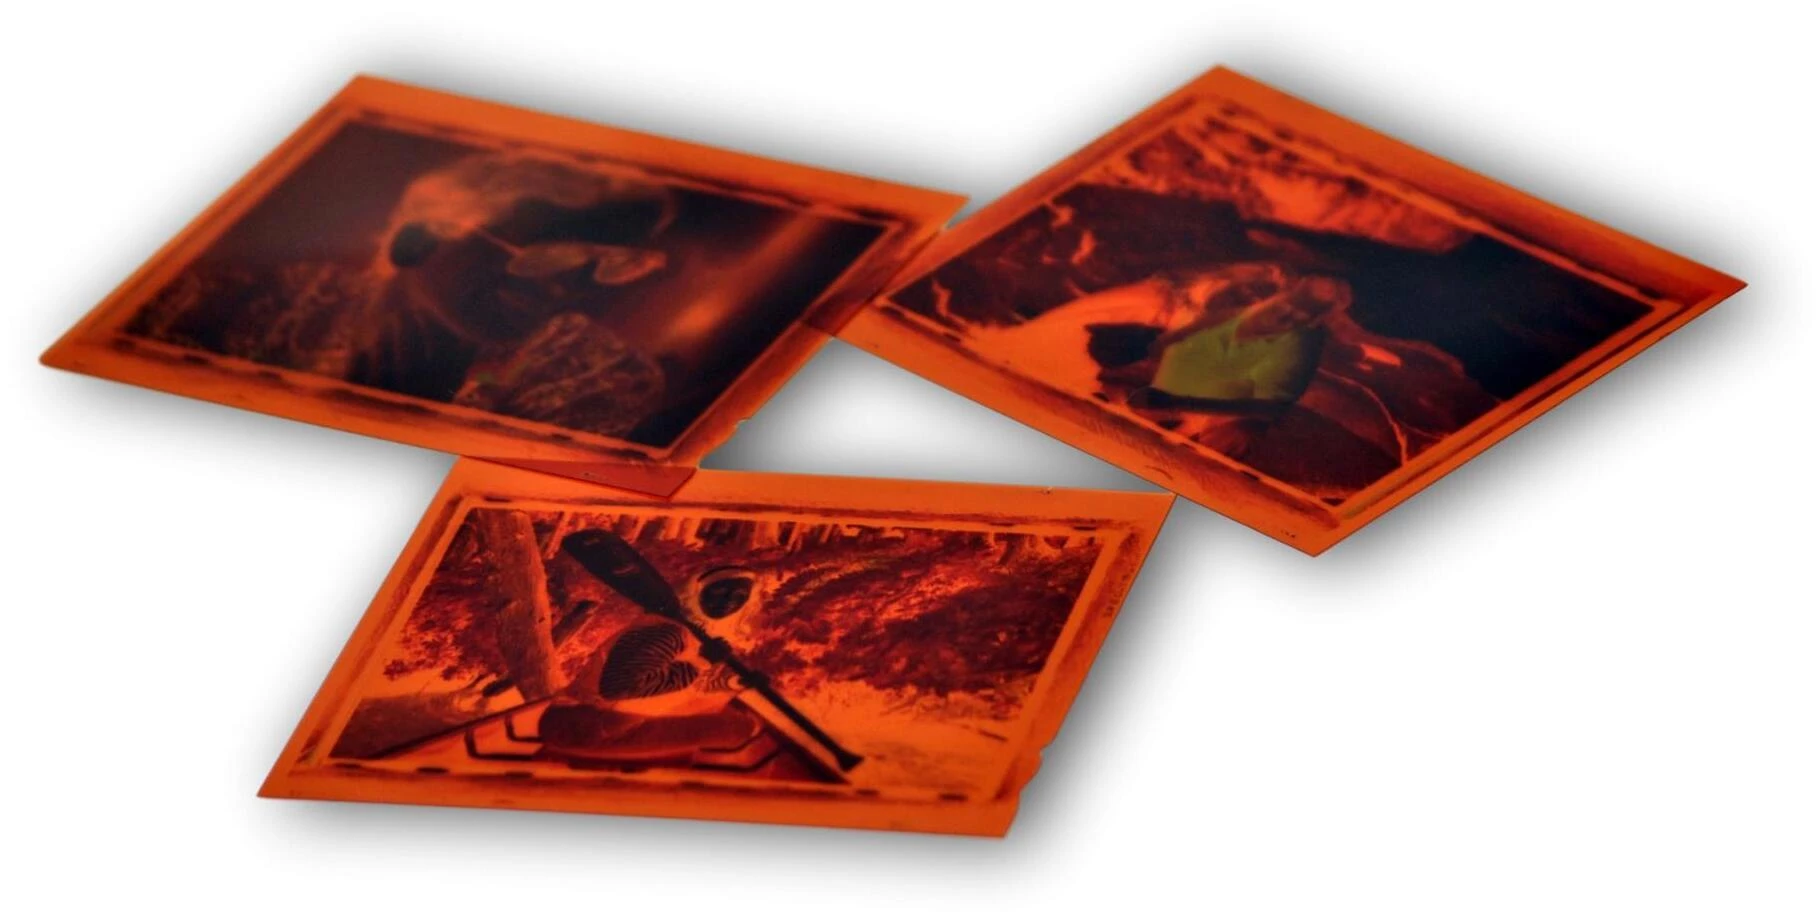
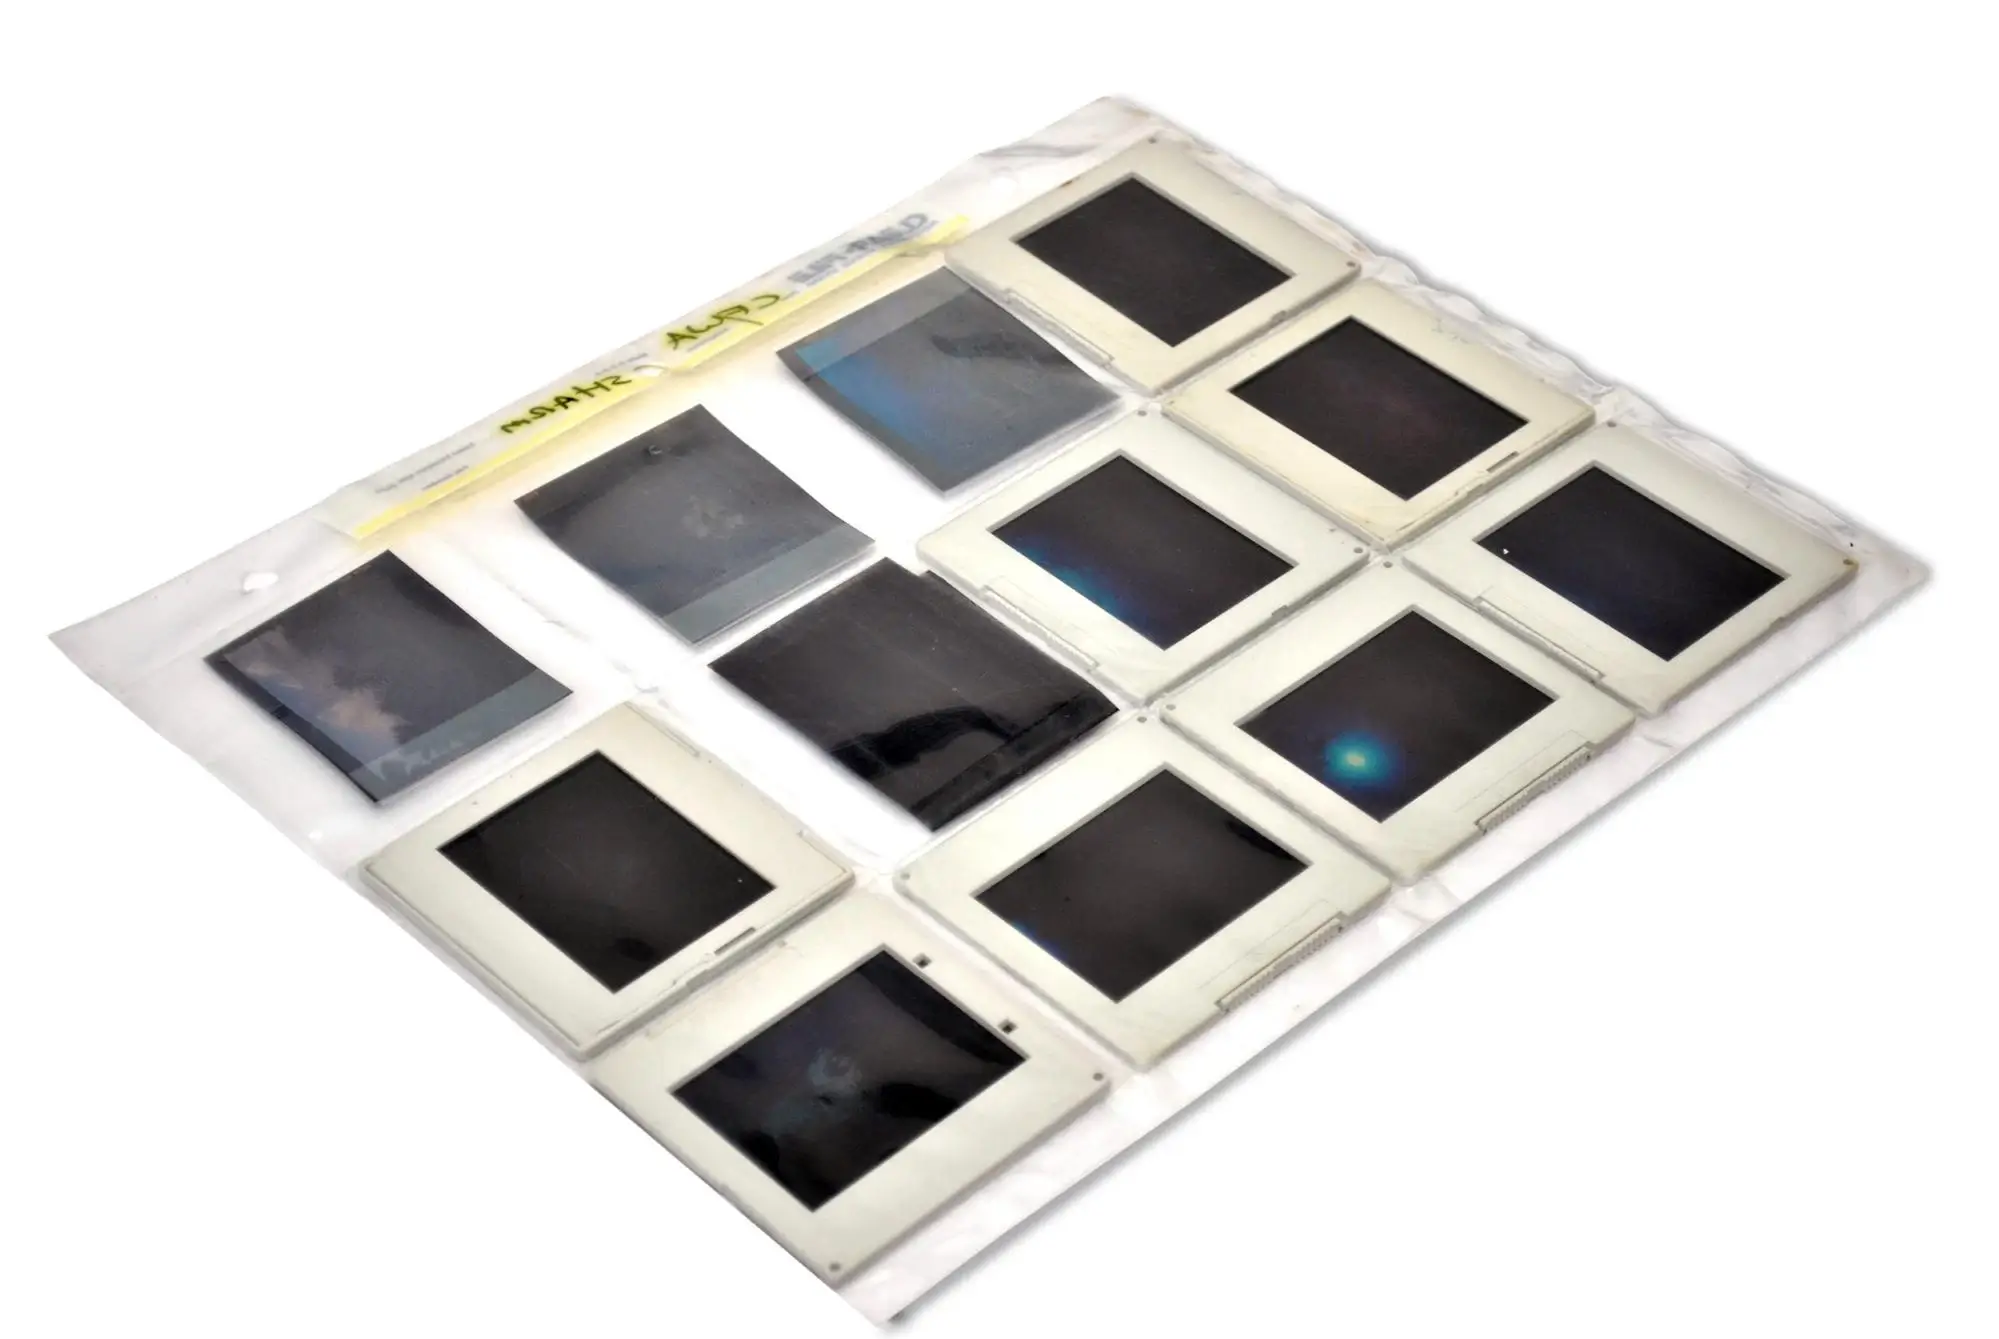
It's important to ensure that slides are clean before storing them, or else they can be more susceptible to deterioration. Dust and dirt accumulates easily on them and over time, this buildup can lead to scratches on the image.
Light, heat, humidity, and chemical fumes can also be problematic. Even most standard storage media for photographs contain chemicals that may be damaging for photos
Handle your slides carefully as you go through them to assess the extent of damage to them. Before starting the cleaning process, get a pair of anti-static gloves - generally made of microfiber. You can find these gloves online or in your local photography store.
Before you choose the best strategy for cleaning your slides, you need to determine the extent of the damage and the type of contaminant present. There are multiple methods for cleaning slides, each of them effective for a different situation. Some of the most common types of contaminants include dust, ink, mold and dried liquids.
If your slides have been around for decades, they may develop corrosive mold or mildew even if they are boxed up in what you believe to be a safe and dry location.
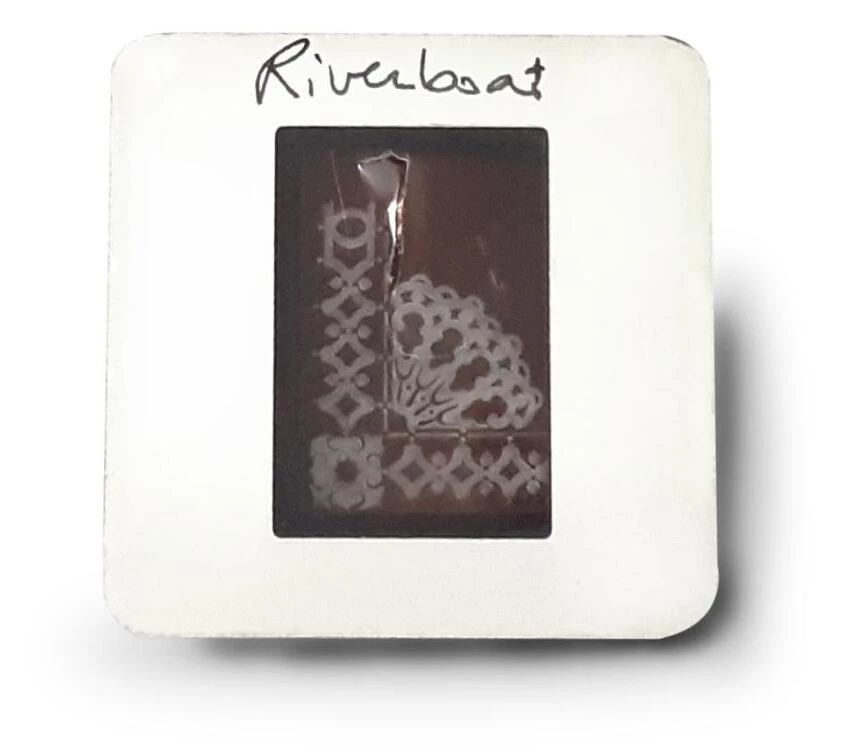
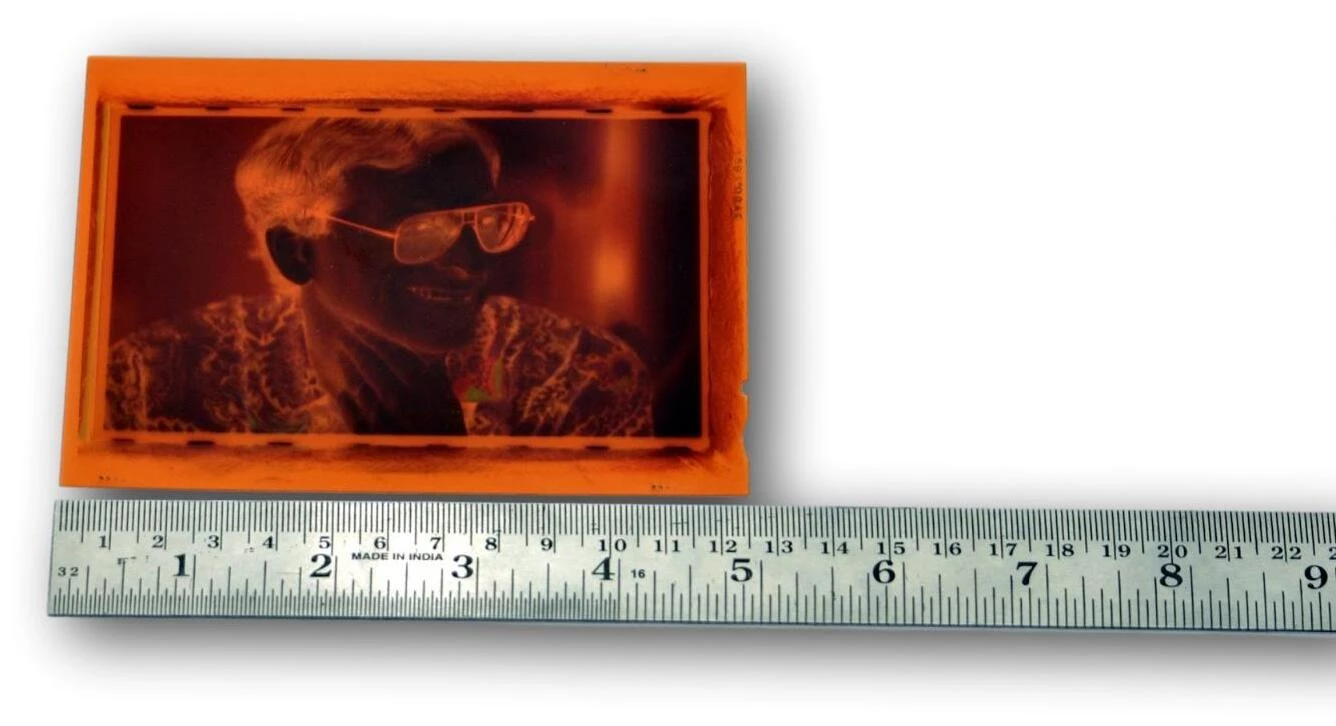
A damaged slide
The first step in cleaning slides involves removing the dirt that has likely accumulated over the years. Before you begin the process, remove the slides from their mounts if you can do this easily and safely. This is easier with plastic mounts than cardboard ones.
There are two ways to tackle the cleaning part:
When cleaning manually, always start with a very soft brush or microfiber cloth to gently coax out particles. Make sure you clean both sides thoroughly, and take your time with the process so as not to smudge or scratch the slide. In fact, some smudges might not even be that visible and may only only be picked up by a scanner, if you decide to digitize your slides.
In some cases, when the contaminant is more entrenched - as with mold, for example - it may be difficult to remove easily. If you're not careful, the process of removing it might cause permanent damage. So, take on the task only if you have some experience with such delicate slide cleaning work.
If you’re confident in your ability to remove the contaminant safely, there are many liquid film cleaners available. These help soften the debris, allowing you to remove it easily and safely.
But when in doubt, it's still best to consult an expert since any damage caused to slides during cleaning could prove to be irreversible.
With water damage, your instinct might be to dry the affected slides out thoroughly. But cleaning them to remove any mud or debris is still a critical first step. Hold the water-damaged slides along their edges and gently rinse the dirt off both sides.
If your slides have stuck together because of moisture, separate them gently from one another. Forcing the separation might cause serious physical damage.
Now, dry your slides. To do this, place them face up on a clean piece of absorbent paper. Avoid using printed paper as the ink might leech onto your water-damaged slides. Replace the paper every hour or so, till the slides are completely try. You can also set up a fan to blow gently on the slides in order speed up the drying process.
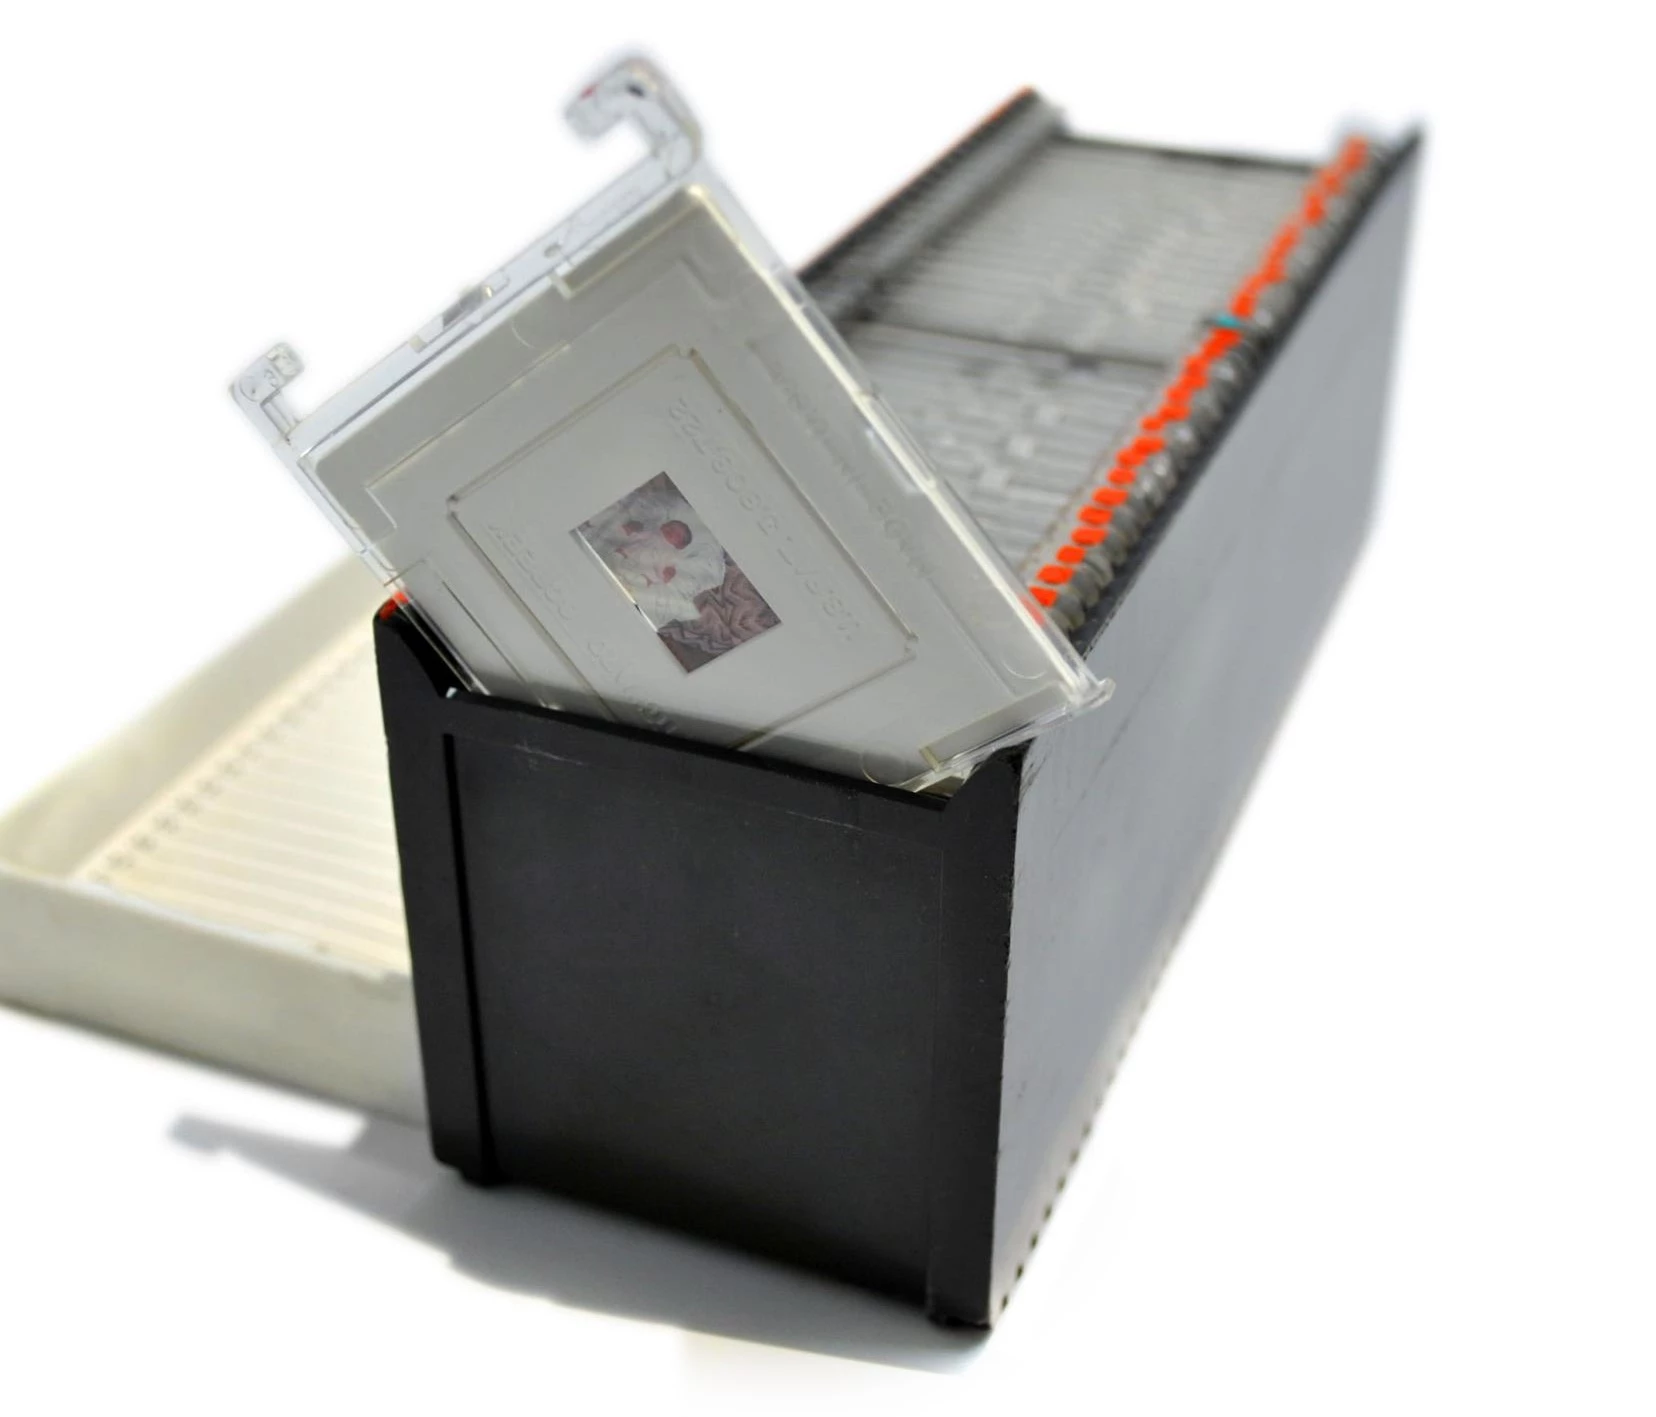
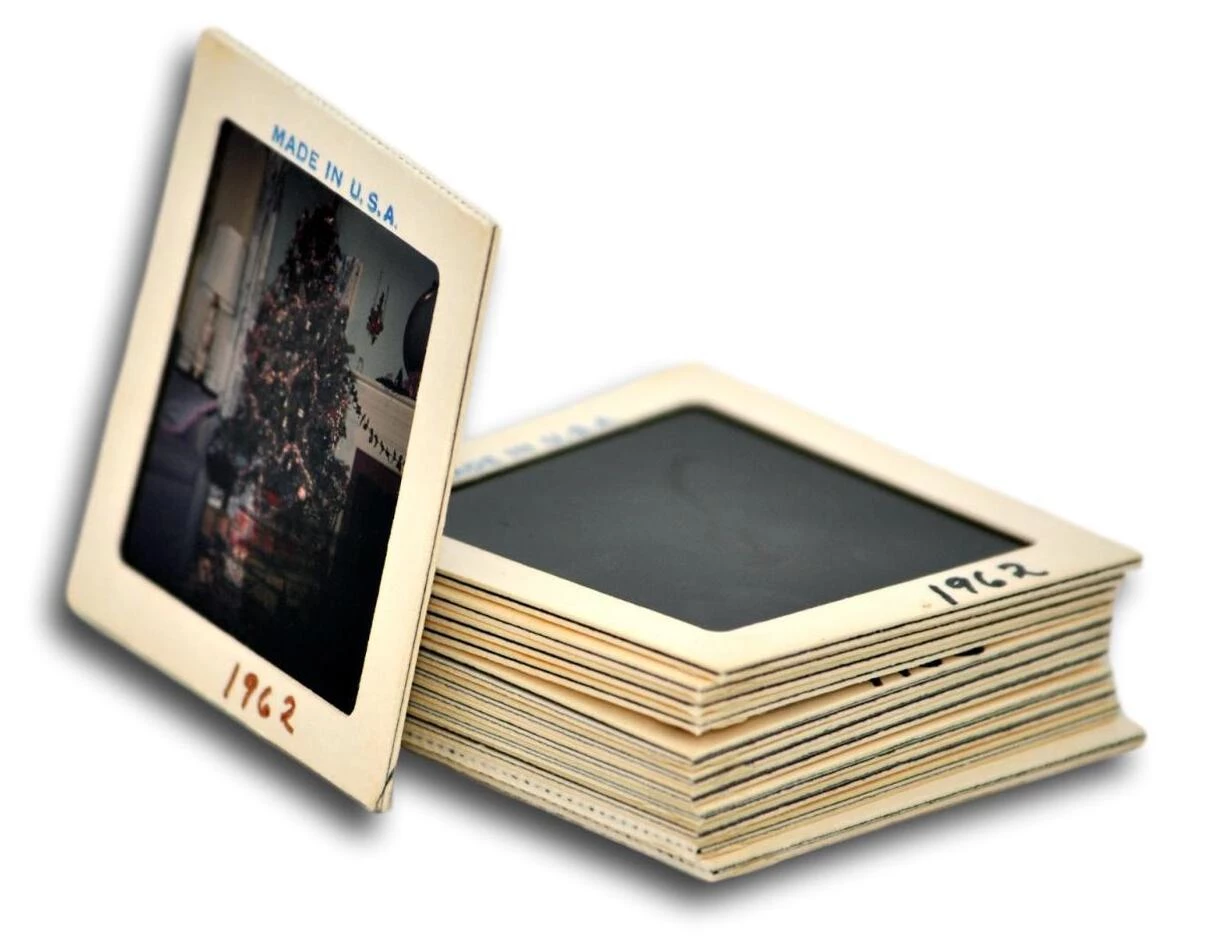
Start by sorting your slides into their original rolls or slideshows, if they are stored in carousels. If your slides are already sorted by roll and stored in boxes, you’re a step ahead.
Next, put the slides into archival plastic pages. These are pages that fit into 3-ring binders, or those you can store in hanging filing systems. Usually a sheet can hold upto twenty slides. So, in most cases, you might need two sheets per roll of film. These are available through local photography stores, archival material suppliers, or many online sites.
If the word “archival” confuses you, it simply means that the plastic pages won’t harm your slides. Essentially, if something is archival, it is free of corrosive chemicals that can eat away at items stored in it.
The next part is affixing labels to these sheets. Here, you can use place, time, people or whatever labeling system makes sense given the images in each sheet.
Another key step in slide organization is to label individual slides. The Avery 6167 return-address labels are most widely used for this purpose as they fit well in the slide mount space around each image. Microsoft provides Avery templates with Word and Avery offers free software that can be used for printing their labels.
Once you’ve printed out the labels, you can affix them to every slide and then proceed to fill in details for each of them. You can use some variation of the label for the entire page to come up with a unique identifier for each slide - e.g. Robert01 - to place on the top line, followed by other relevant details such as date, location, event, and more.
It’s extremely important to digitize your slides or else you risk losing the precious memories they contain. The good part about scanning slides is that color translation is more accurate as there are no color inversion processes involved. With professional scanning machines, it's possible to digitize slides without compromising on details such as colors and grain.
Here are some ways to scan your slides at home:
Using a flatbed scanner to scan your slides is not just a matter of throwing your slides on it and hitting the '’scan" button. Like negatives, slides require backlighting in order to be visible for scanning. One easy way to do this is to place a piece of glossy white paper on the scanner bed and then arrange your slides over this.
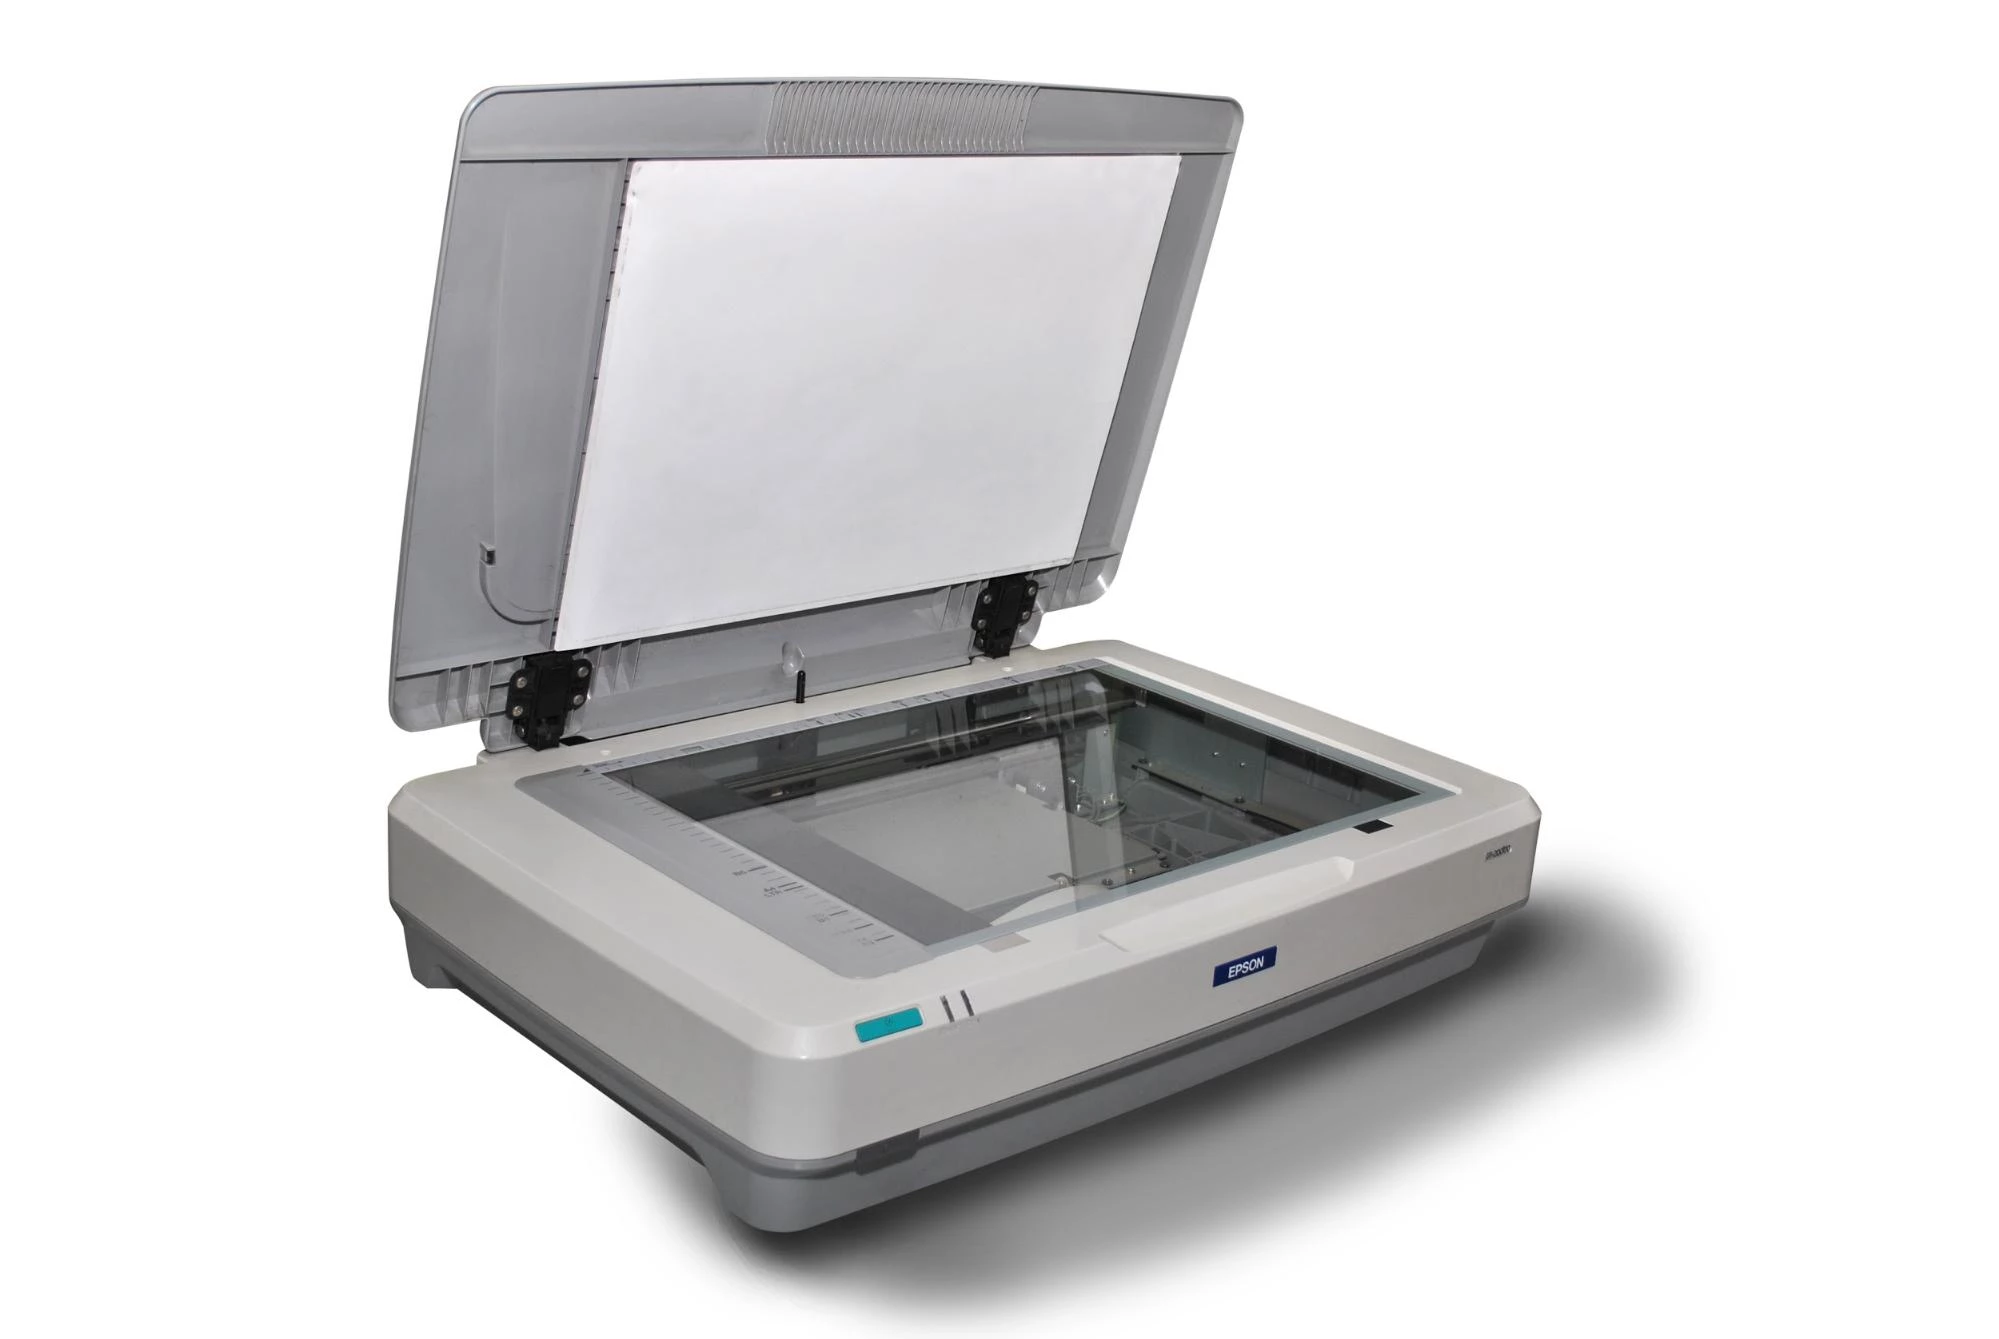
Dedicated film scanners are fitted with holders for negatives and slides to make the scanning process much easier. All you have to do is connect the scanner to your computer, install the required drivers and then you are ready to roll. You have to pay a bit for the convenience, however, as slide scanners are not inexpensive.
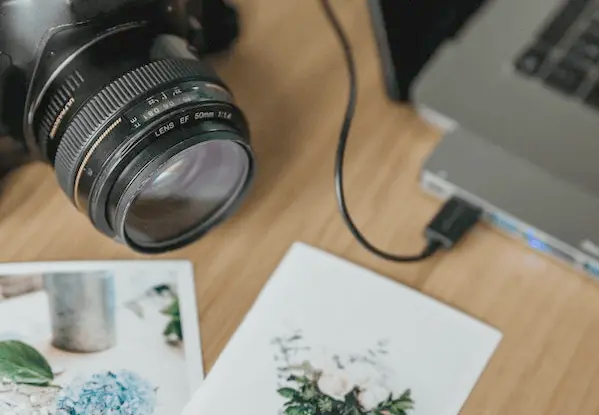
If you own a decent SLR camera, you can use a slide duplicator (or a duper). It attaches to your camera in place of the lens, using a T-mount adapter ring. The other end is a sliding gate that holds two slides.
The duplicator also has an internal lens with a fixed aperture and focusing distance that focuses the slide’s image on your camera’s imaging plane. You can then take a picture of the slide.
While slide duplicators are relatively inexpensive and easy to use, they don’t offer the quality you get from a sophisticated scanner. Most digital cameras also do not offer the dynamic range of a scanner, which affects the detail that can be captured in the scanned image.
For purposes of comparing technical aspects of scans, we often use the measure "dpi", which stands for "dots per inch". While not precisely accurate, it does enable you to begin to understand two important things about your scanned image: 1) how sharp it will look when printed, and 2) how large it can be printed before it begins to look a bit fuzzy. It is not true, however, that a higher resolution is always the best solution--sometimes a more finely detailed scan can pick up the grain of the underlying material and give results that are inferior to a scan at a lower dpi. So in general we recommend scanning 35mm slides and negatives at approximately 10 megapixels ("MP"), which should yield a very nice print up to about 13" x 9".

When you are scanning old slides, color correction and restoration are important steps in the process. Built-in scanning software can help to correct for color shifts and fading. If needed, a photo editing software such as Photoshop can be used to further enhance the look of the final scan. Retouching can also help with other fixes, such as removing instances of red eye in the digital images.
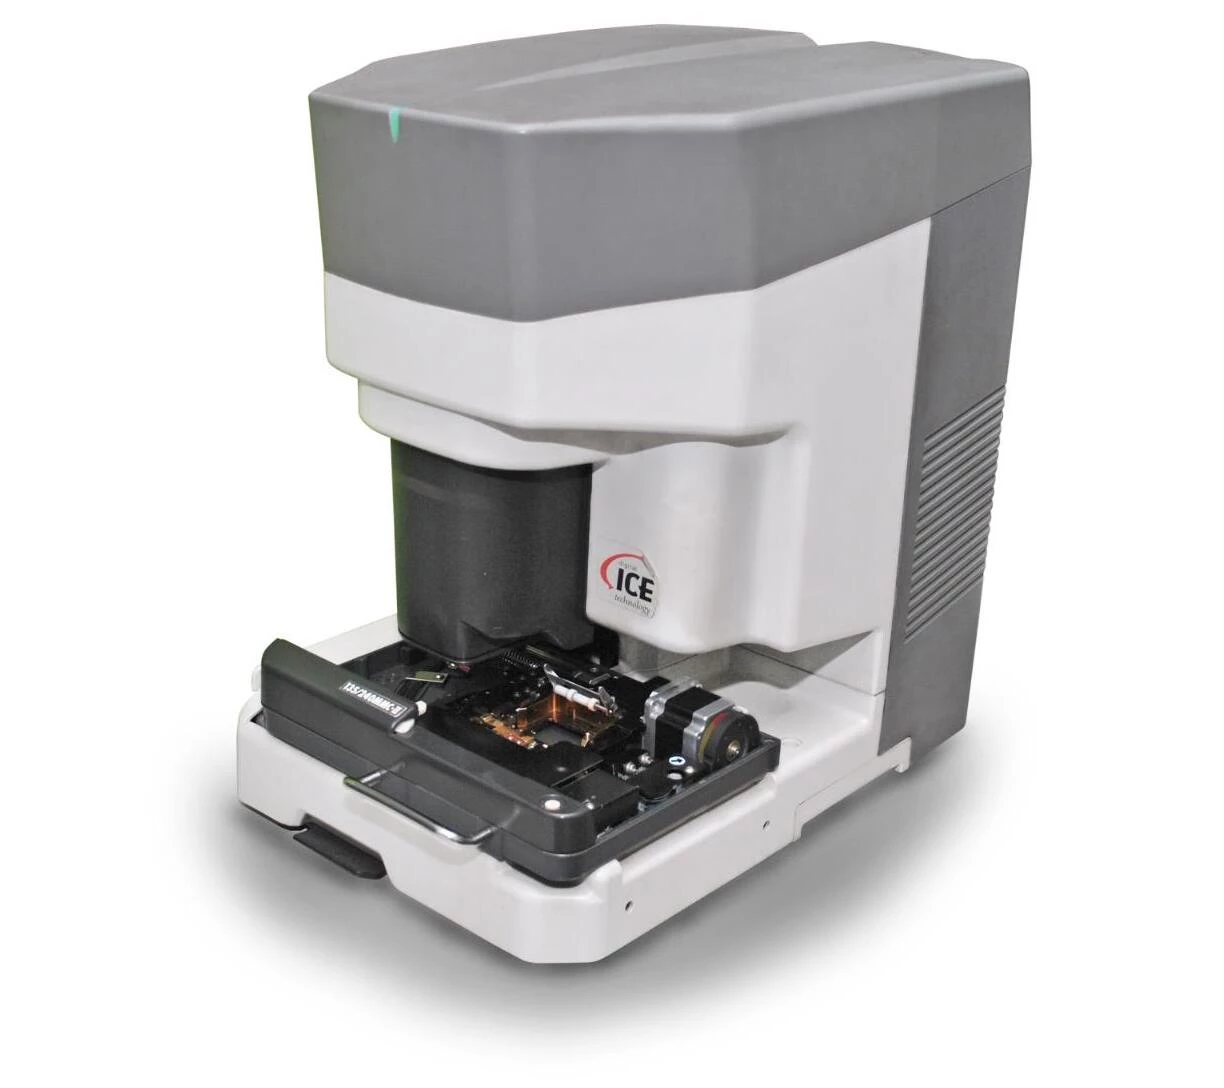
Slides that have been boxed up for a long time often develop scratches. One automated solution for this problem is Digital ICE, a scratch minimization technology that is integrated into most higher end scanners. The crux of this technology depends on using infra-red light to detect and subtract out positions of dust and scratches from the final image. But if the scratches still show up in the scanned images, manual editing may be required to remove them.
Sometimes the scanned image may need more than just minor fixes. This may happen, for instance, when mold on a slide obscures part of an image. A trained restoration specialist can step in here to rebuild the image and make it whole again.
In cases where standard photo correction processes such as those described above don’t completely do the job, advanced photo restoration can give you the picture perfect results you seek.
Scanning slides at home requires that you buy, rent, or borrow the required equipment. A slide scanner is a robust piece of equipment to have on hand for the project but these don't run cheap. And then there is the not-insignificant time factor. You have to budget one to two minutes per slide to scan and save it to a secure location. Touch-ups and other image correction will add to this time.
A couple of minutes may not sound like a lot. But if you have hundreds of slides for which you have to repeat this process, it involves a substantial time commitment. In cases where the image is significantly damaged, restoration work can be both challenging and time consuming.
If you are willing to invest a bit in the project, it's probably best to use a professional service, especially when you have a larger collection of slides to scan. They have the equipment and expertise to efficiently convert your slides to a digital format and then make them available to you through your choice of storage - online, flash drives, or CDs. Not only will you save time but you will get optimally scanned photos that can then be printed and enlarged. Lastly, an established professional service can also expertly restore photos affected by dust, scratches, mold or more.
The benefits of converting slides to digital format include preservation of memories for future generations, easy accessibility and sharing of digital files, and the ability to edit and enhance images using photo editing software. Digital files also take up less physical space compared to physical slides.
Yes, digital copies of slides can still be viewed after converting them. They can be viewed on a computer, smartphone, or tablet, and easily shared with others through email or social media.
To convert slides to digital format at home, you can use a flatbed scanner, a dedicated film scanner, or a slide duplicator attached to a digital camera. Each method has its own pros and cons, so it's important to choose the one that suits your needs and budget.
The time it takes to convert a slide to digital format depends on the method used and the number of slides to be converted. It can range from a few seconds for a slide scanner to a few minutes for a flatbed scanner or slide duplicator.
It is recommended to store the digital copies of slides in multiple locations to ensure their safety. This can include backing up files on external hard drives, cloud storage services, or DVDs. It's also important to maintain proper naming and organization of files for easy retrieval in the future.
The cost will depend on the number of slides being converted and the method used. Professional services may have a fee per slide or offer bulk pricing options
As a film digitizing company named ScanCafe, we can help you convert your slides to digital. We offer professional scanning services to ensure high-quality digitization of your slides. Our team has the expertise and equipment to handle various slide formats, including 35mm, 110, 126, 127, 120, and large-format slides.


